10 Creative College Desk Organization Ideas You’ll Want to Copy
Starting college means a lot of new responsibilities — and your desk is where most of them land. Between textbooks, chargers, notebooks, and random sticky notes, things can get messy fast. A well-organized desk isn’t just about looking nice; it helps you focus, save time, and feel calmer during busy semesters.
The good news? You don’t need a huge budget or a big room to make it work. With a few smart storage pieces and some creative layout tricks, even the tiniest dorm desk can become an organized, inspiring corner. Here are 10 College desk organization ideas to help you get there.
1. Vertical File and Paper Organizer
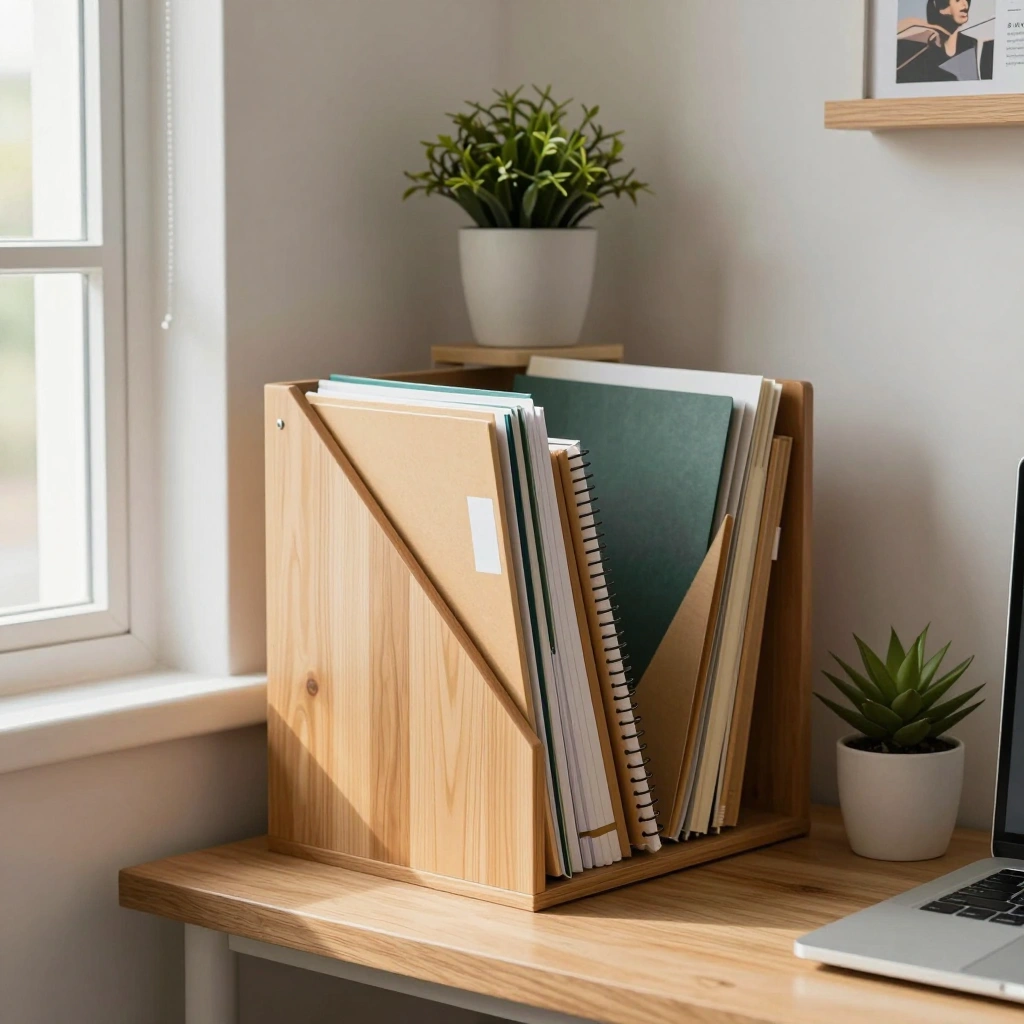
Keep your notebooks, folders, and loose papers standing upright instead of piling up. A vertical organizer uses your desk’s height instead of its surface area, which is perfect for small dorm desks.
How to Style It:
- Choose a wood or woven-texture organizer for a warm, cozy look
- Label each slot by subject or class
- Add a small plant or photo on top for a personal touch
Where to Use It: Against the back edge of the desk, near the wall, so it doesn’t take up working space.
Pro Tip: Sort papers weekly — a five-minute Sunday reset keeps the pile from creeping back.
2. Desktop Drawer Organizer Tray
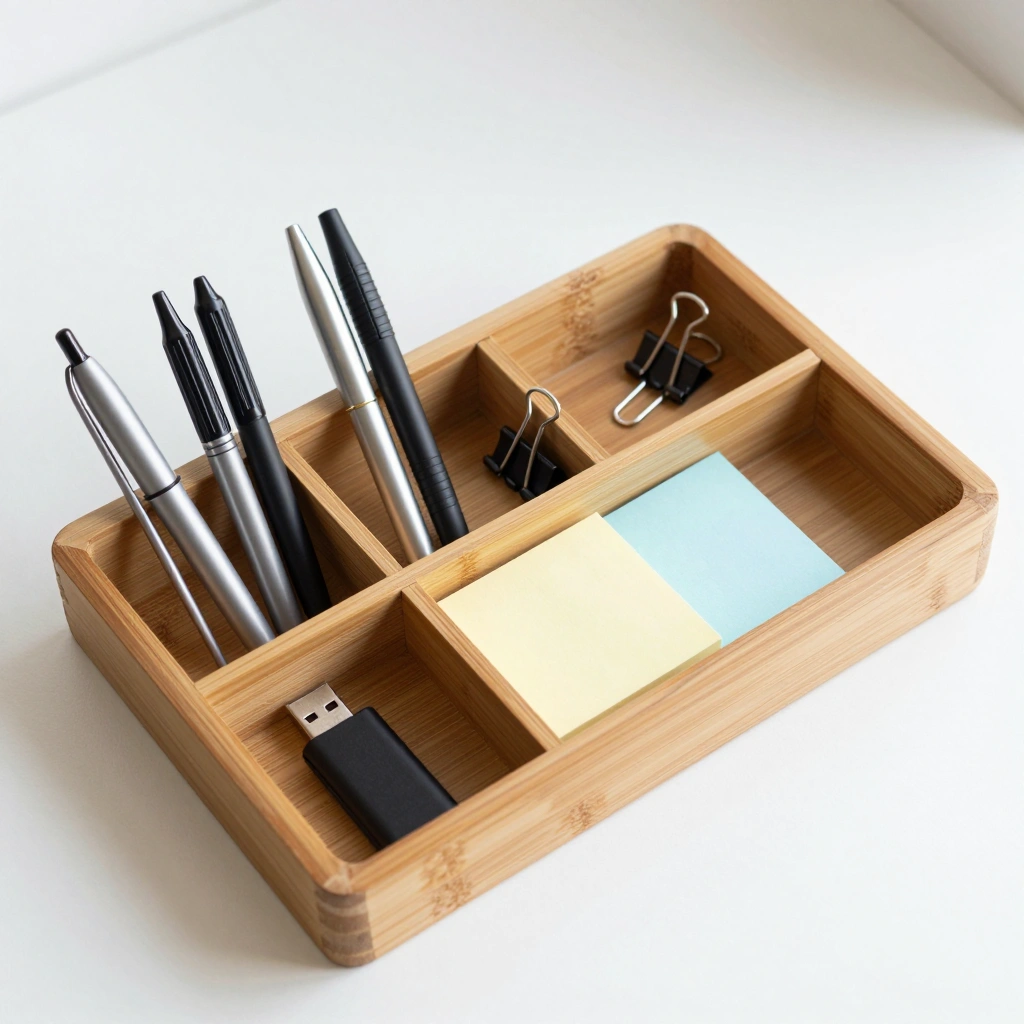
A shallow tray with small compartments keeps pens, paper clips, sticky notes, and USB drives from sliding around and getting lost in a bigger drawer.
How to Style It:
- Pick a tray in bamboo, acrylic, or soft pastel tones
- Group items by type (writing tools, tech, sticky notes)
- Keep only daily-use items here; store extras elsewhere
Where to Use It: Inside the top desk drawer, or on the desk surface if there’s no drawer.
Pro Tip: Add a small divider for spare batteries and charging cables so they don’t tangle with pens.
3. Under-Desk Hanging Storage Basket
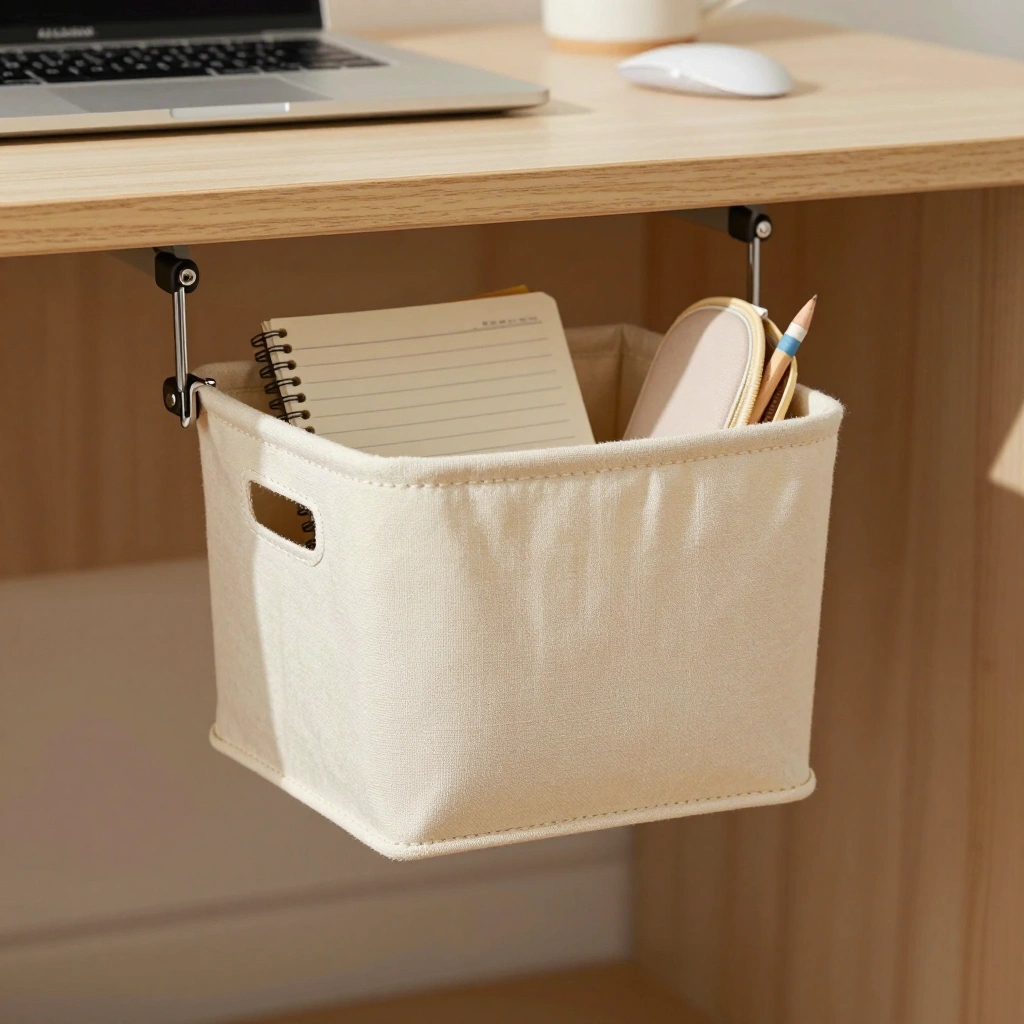
Maximize hidden space by adding a basket or bin that hangs beneath the desktop. It’s a great spot for items you use often but don’t want visible.
How to Style It:
- Use a canvas or mesh basket that matches your room’s color scheme
- Keep it lightweight so it doesn’t strain the mounting clips
- Reserve it for lighter items like notebooks or a small pencil case
Where to Use It: Mounted under the desk, close to where you sit, for easy reach.
Pro Tip: Check the clips are secure before loading it up, especially on shared or rented dorm furniture.
4. Monitor Stand with Storage Shelf
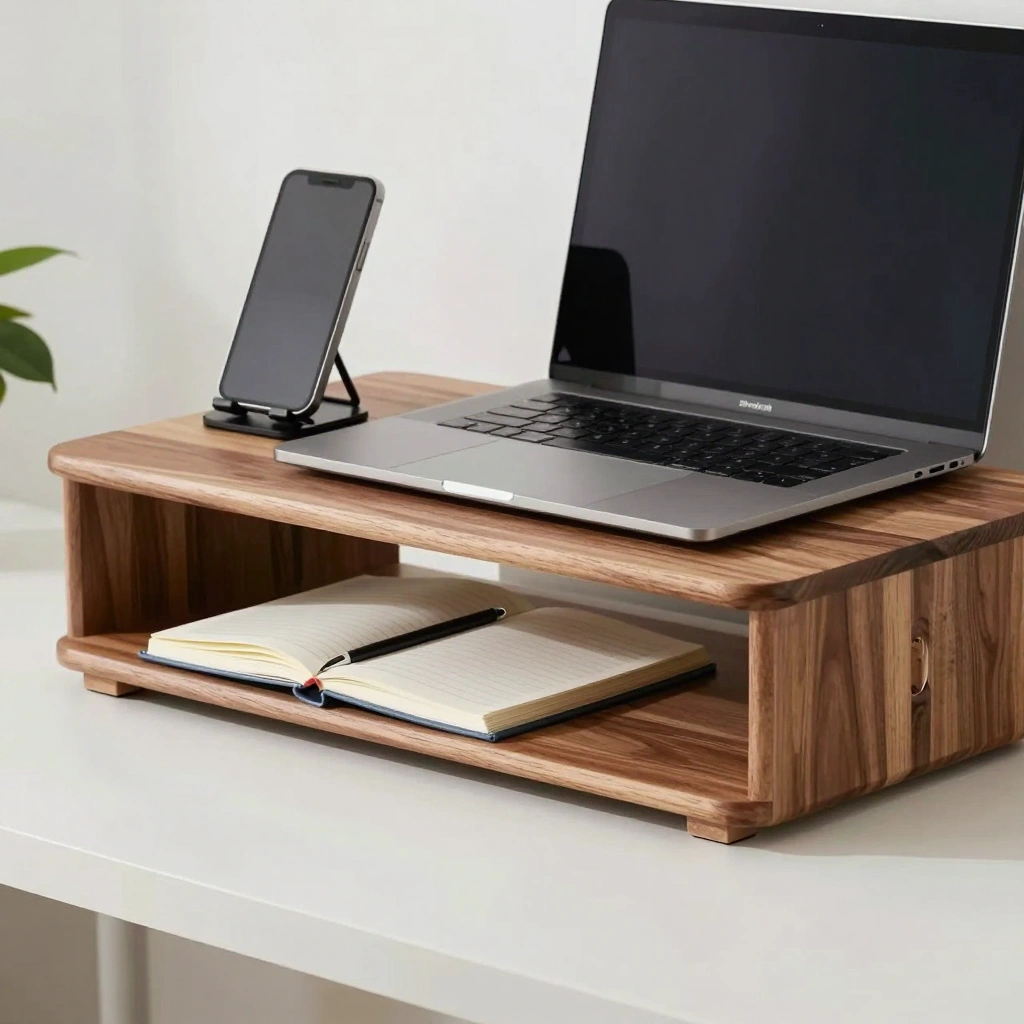
If you use a laptop or monitor, raising it up with a stand instantly frees up desk space underneath for pens, notebooks, or a phone stand.
How to Style It:
- Choose a stand with an open wooden or wire shelf underneath
- Keep the shelf tidy with just a few daily essentials
- Match the stand’s finish to your other desk accessories
Where to Use It: Centered on the desk, right where your screen normally sits.
Pro Tip: Position the screen at eye level to also help with posture during long study sessions.
5. Cork or Felt Pinboard Above the Desk
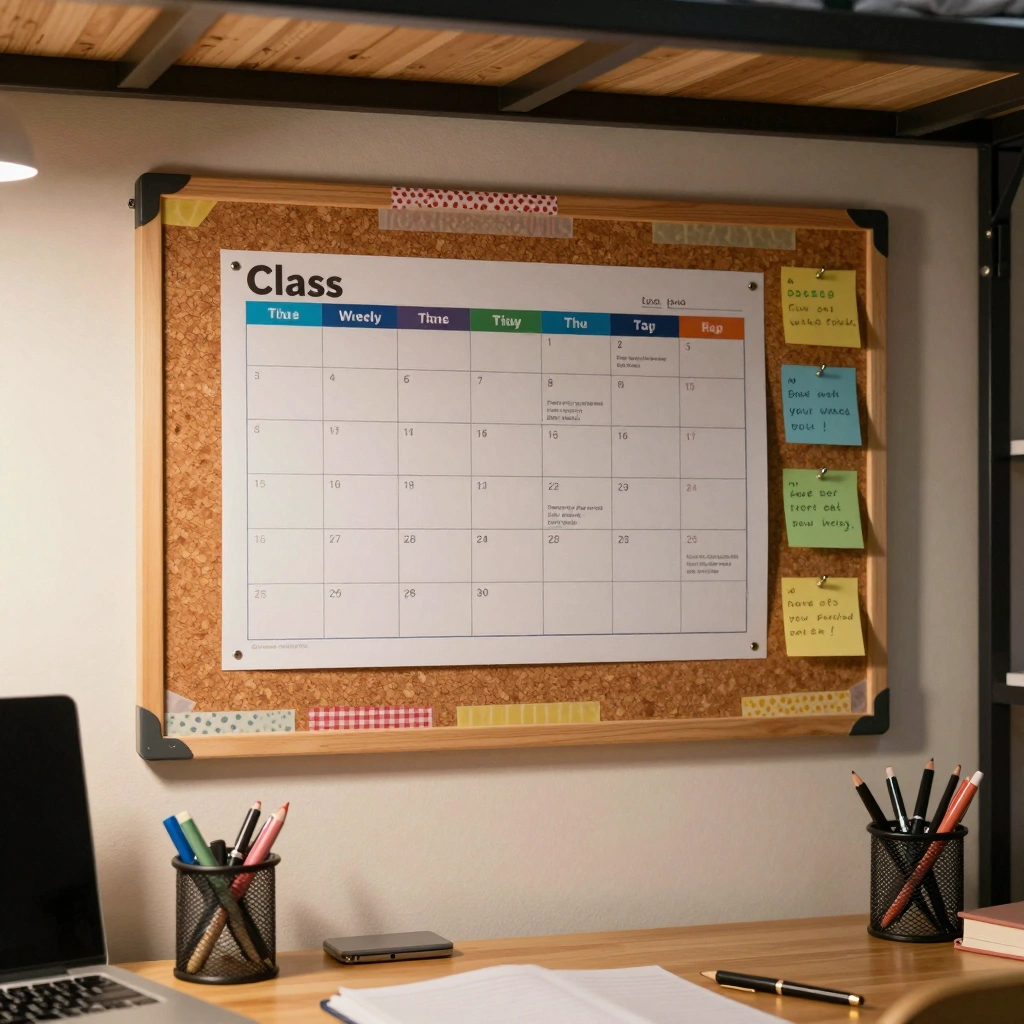
A pinboard keeps important reminders, class schedules, and small motivational notes visible without cluttering your desk surface.
How to Style It:
- Use washi tape borders or a fabric-wrapped frame for extra charm
- Pin a color-coded weekly schedule
- Leave a small open section for rotating reminders
Where to Use It: On the wall directly above the desk, within easy arm’s reach.
Pro Tip: Update it every Sunday so it always reflects the current week, not last month’s to-do list.
6. Cable and Charger Management Box
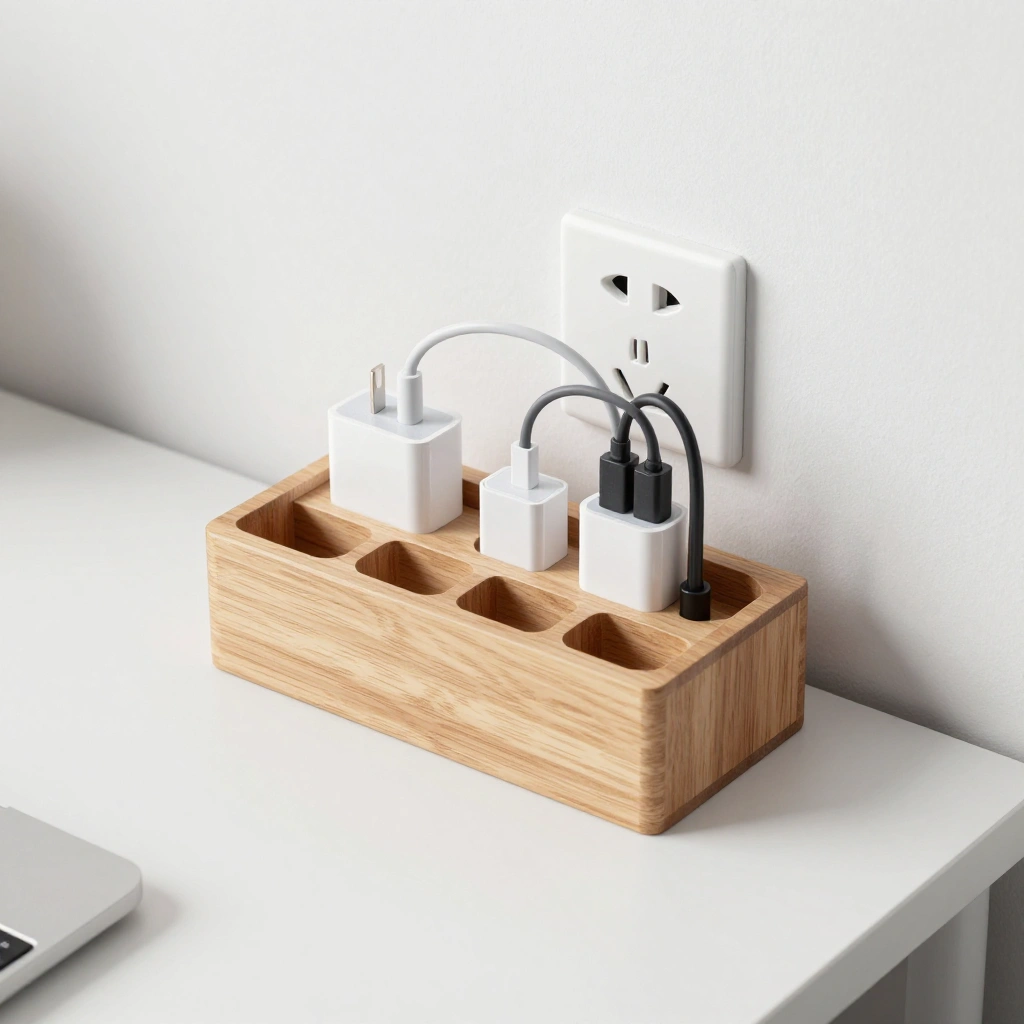
Tangled cords are one of the biggest desk clutter culprits. A small box or clip system keeps chargers, headphones, and cables neatly bundled and easy to find.
How to Style It:
- Use a small fabric or wood box with cutout holes for cords
- Label each cable with a mini tag if you have several devices
- Keep only actively used cables on the desk; store the rest in a drawer
Where to Use It: Near the wall outlet or power strip, tucked to one side of the desk.
Pro Tip: Coil extra cord length with a velcro tie before boxing it to avoid a tangled mess.
7. Rotating Desktop Caddy
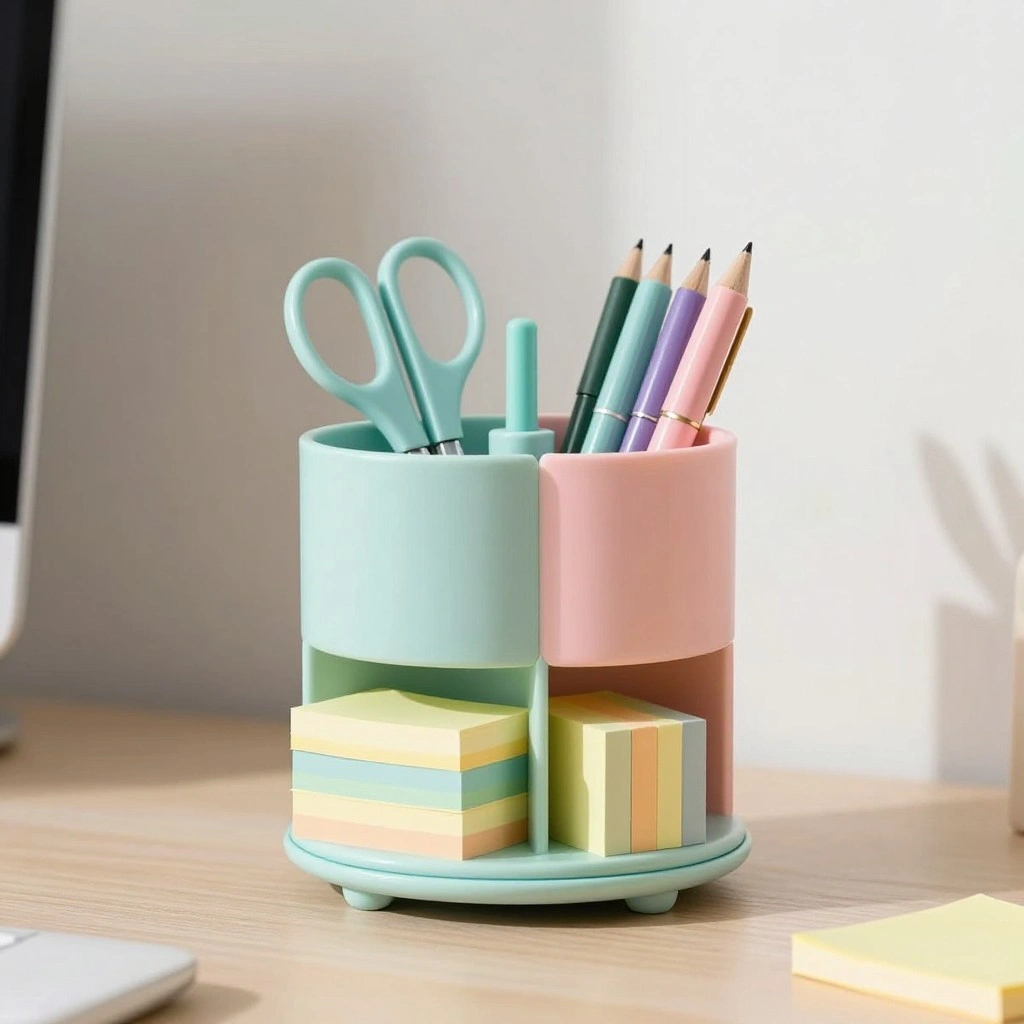
A rotating caddy puts pens, scissors, sticky notes, and small tools within a quick spin’s reach, which is especially handy for compact desks with limited drawer space.
How to Style It:
- Pick a caddy with multiple small compartments
- Keep taller items like scissors and rulers in the center
- Add a pastel or neutral tone caddy to match your desk decor
Where to Use It: In a corner of the desk, close to your dominant hand.
Pro Tip: Rotate it so your most-used tools always face you first thing in the morning.
8. Stackable Letter Trays
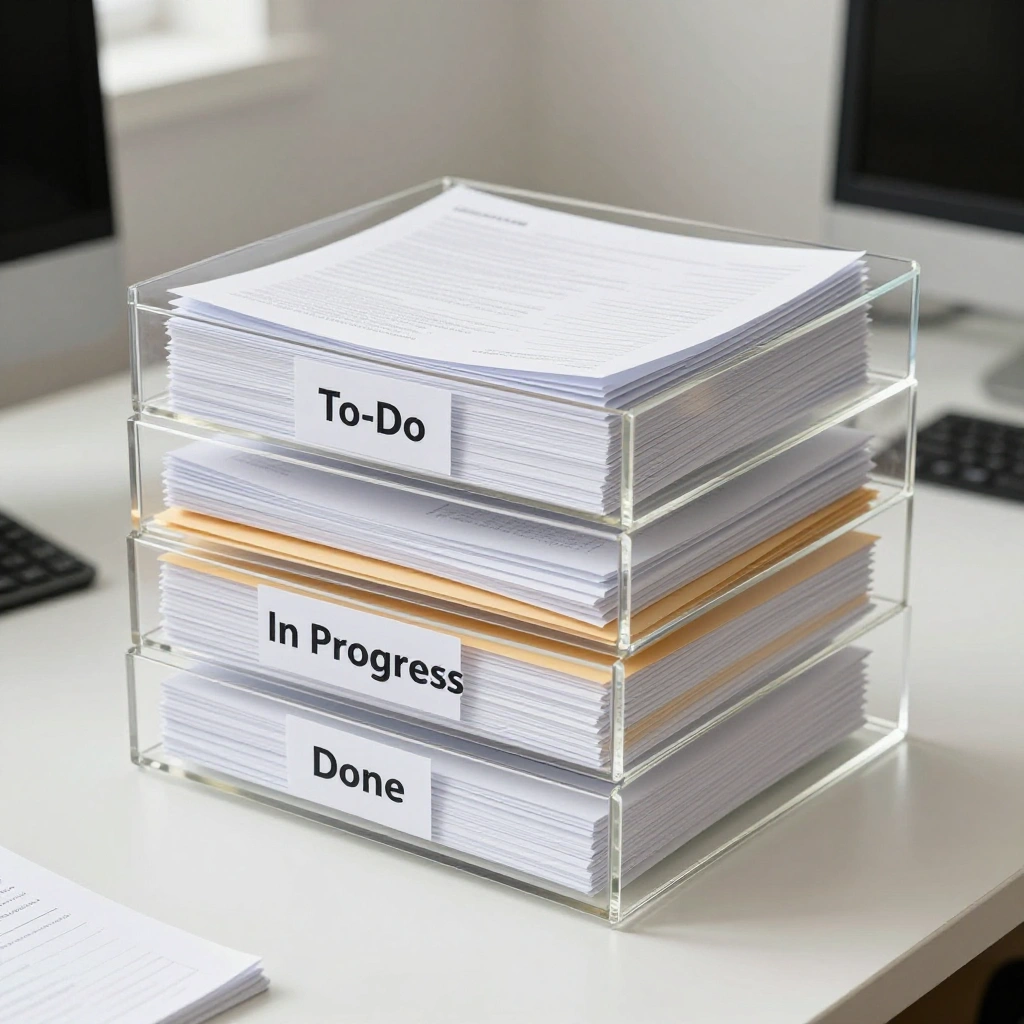
Stackable trays help separate “to-do,” “in progress,” and “done” paperwork so assignments and handouts don’t get mixed up or lost.
How to Style It:
- Use 2-3 trays in a matching color or clear acrylic
- Label each tray clearly by status or subject
- Keep the stack near the edge of the desk for easy access
Where to Use It: On one side of the desk, ideally near your organizer or planner.
Pro Tip: Clear out the “done” tray at the end of each week to keep the stack from growing too tall.
9. Small Corkboard Calendar Stand
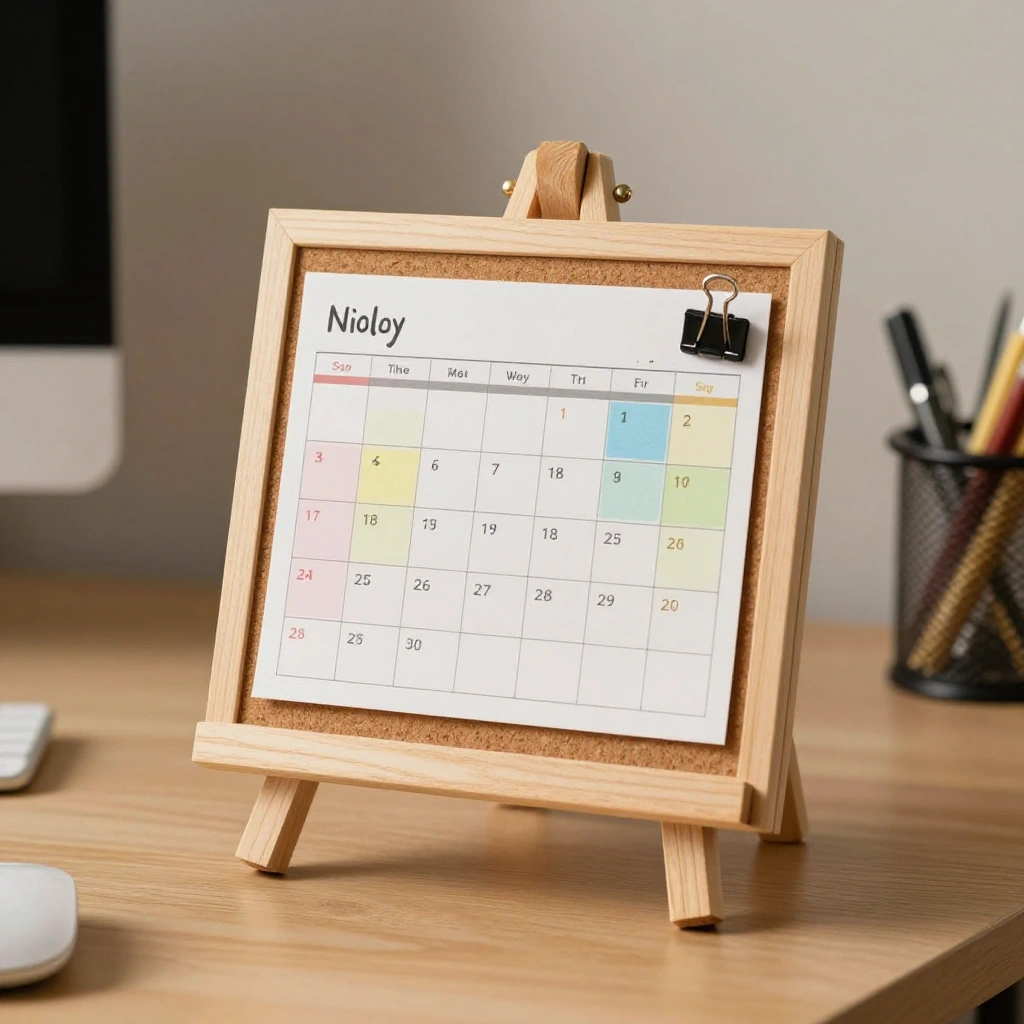
A compact standing calendar or planner display keeps deadlines and exam dates visible without taking up wall space, great for desks that aren’t against a wall.
How to Style It:
- Choose a mini easel-style stand for a cute desk accent
- Use a dry-erase or write-on calendar for flexibility
- Add a small magnet or clip for the current week’s most important note
Where to Use It: Toward the back corner of the desk, next to your organizer tray.
Pro Tip: Color-code entries by class or activity so you can scan deadlines at a glance.
10. Multi-Tier Desktop Shelf
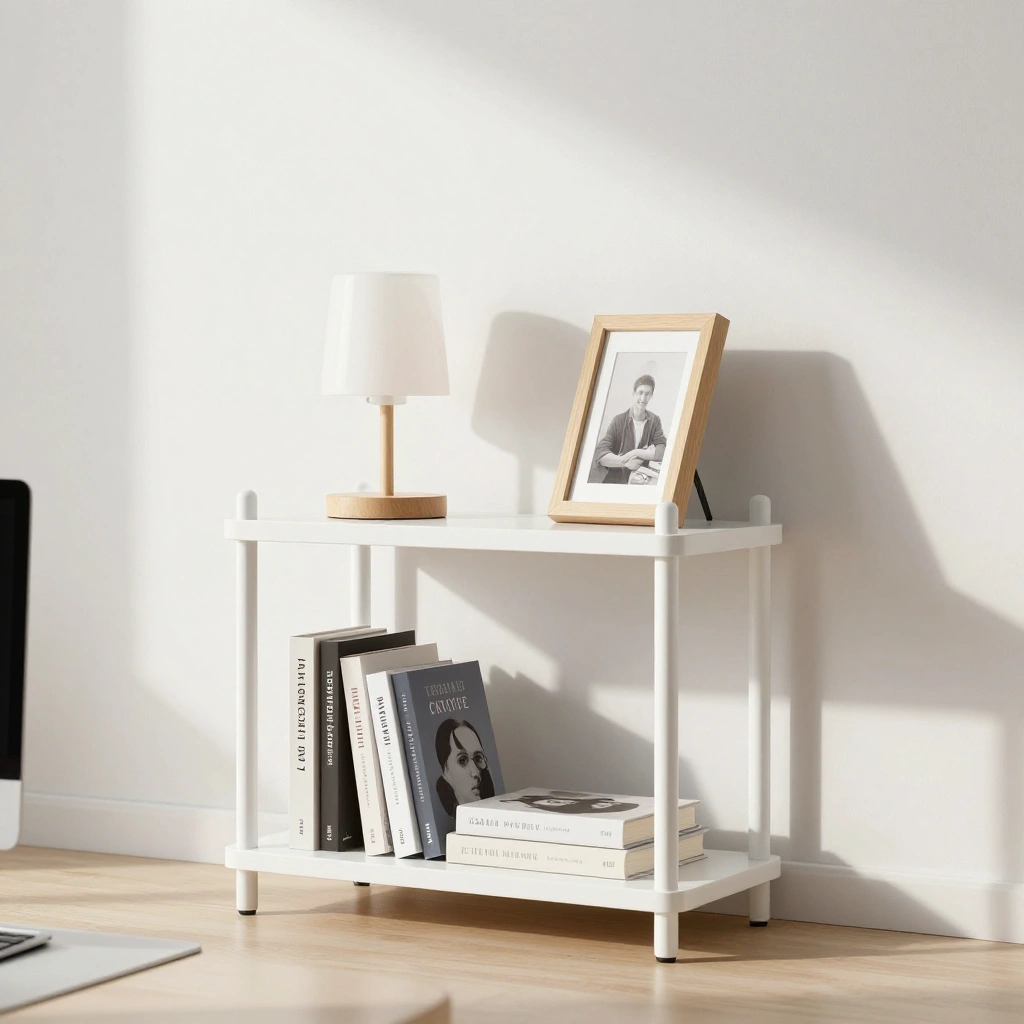
A small tiered shelf adds vertical storage for books, a lamp, and decor items, keeping the desk surface itself clear for actual studying.
How to Style It:
- Use the bottom tier for heavier items like textbooks
- Reserve the top tier for a lamp, small plant, or photo frame
- Keep the color simple (white, wood, or black) so it doesn’t compete with other decor
Where to Use It: Along the back of the desk or in a corner, against the wall.
Pro Tip: Leave a little open space on each tier — a fully packed shelf starts to feel cluttered again fast.
Common Mistakes to Avoid
- Overbuying organizers before measuring the desk. Always check your desk’s dimensions first so pieces actually fit without overcrowding it.
- Keeping items you rarely use in prime desk space. Store seasonal or rarely used supplies in a drawer or closet instead of the desktop.
- Ignoring cord management. Tangled cables are one of the fastest ways a tidy desk turns messy again.
- Choosing style over function. A cute organizer that doesn’t fit your actual study habits will end up unused.
- Skipping a regular reset. Even the best system needs a five-minute tidy-up each week to stay effective.
Frequently Asked Questions about College Desk Organization
1. How do I organize a small College Desk Organization with no drawers? Use vertical storage like a file organizer, a hanging under-desk basket, and a multi-tier shelf. These add storage without needing built-in drawers.
2. What’s the cheapest way to organize a dorm desk? Repurpose items you already own — a shoebox as a drawer divider, a mug as a pen holder, or binder clips as cable organizers — before buying new pieces.
3. How often should I reorganize my desk? A quick daily tidy plus a deeper weekly reset (sorting papers, clearing trays, checking the calendar) keeps clutter from building up during the semester.
4. Should my desk face a window or a wall? Either works, but if natural light causes screen glare, position your desk so the window is to the side rather than directly behind or in front of your screen.
5. What desk accessories help the most with focus? A clear surface, a visible calendar, and a designated spot for your phone (like a stand, away from your direct eyeline) tend to help the most with staying focused while studying.