10 Stylish Kitchen Countertop Organization Ideas to Maximize Space
Your kitchen countertop is the busiest surface in the house — it holds mail, snacks, homework, and a hundred small tools that never seem to have a home. A cluttered counter doesn’t just look messy, it slows down everything from breakfast to homework help. The good news? A few smart storage pieces can turn chaos into a calm, functional space in a single afternoon.
Below you’ll find 10 realistic, family-friendly Kitchen countertop organization ideas — from lazy Susans to kid-height snack stations — each with styling tips and placement advice so you can recreate the look in your own kitchen, no matter the size.
1. Rotating Lazy Susan Turntable
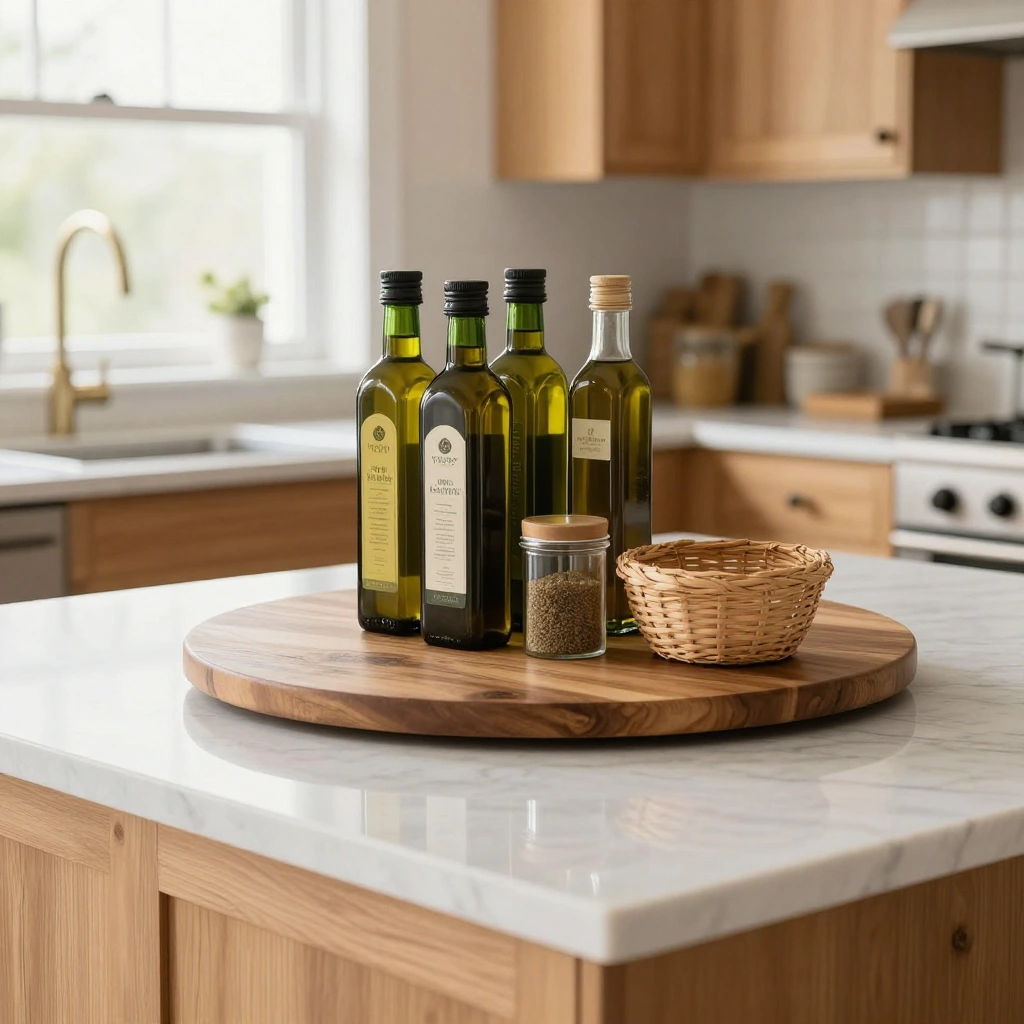
A rotating turntable keeps oils, spices, and everyday condiments within easy reach without cluttering the counter in a straight line. One spin and everyone in the family can find what they need.
How to Style It:
- Choose a wood or bamboo turntable for a warm, natural look
- Group similar items together (oils on one side, spices on the other)
- Keep the tallest bottles toward the center so nothing tips over when spinning
- Add a small woven basket on the turntable for loose packets or tea bags
Where to Use It: Best near the stove or prep zone where oils and seasonings are used most often.
Pro Tip: Stick to 8–10 items max on the turntable — overcrowding defeats the purpose and makes it hard to spin smoothly.
2. Clear Acrylic Canisters for Dry Goods
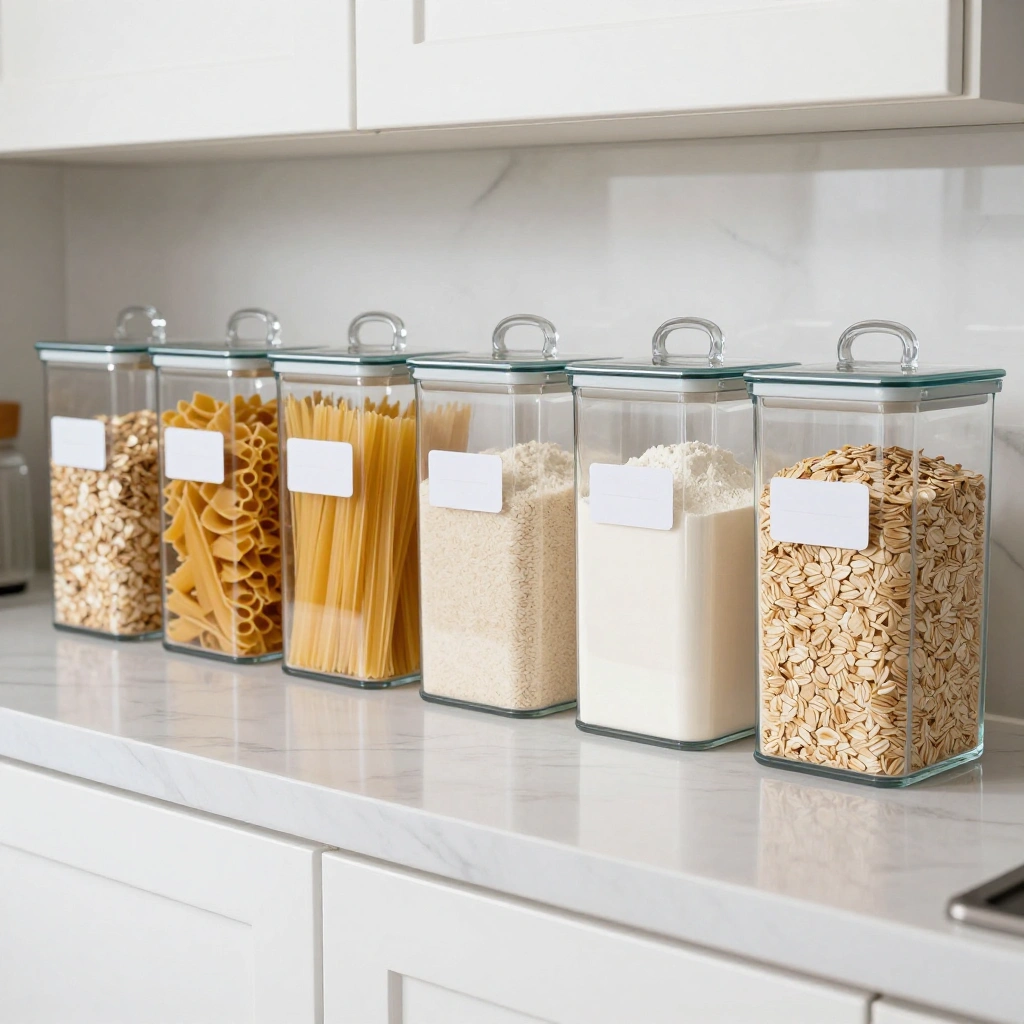
Clear canisters instantly make a counter look tidier because everything is visible and uniform. They’re also a practical way to keep pasta, rice, flour, and sugar fresh and easy to grab for quick meals.
How to Style It:
- Use matching canisters in 2–3 sizes for a clean, cohesive look
- Add simple labels so kids can help themselves during snack time
- Fill canisters to similar levels for a more polished appearance
- Group by use — baking canisters together, snack canisters together
Where to Use It: Along the back edge of the counter near the pantry or baking zone.
Pro Tip: Choose canisters with airtight, easy-open lids — kids should be able to open and close them without spilling.
3. Wooden Utensil Crock
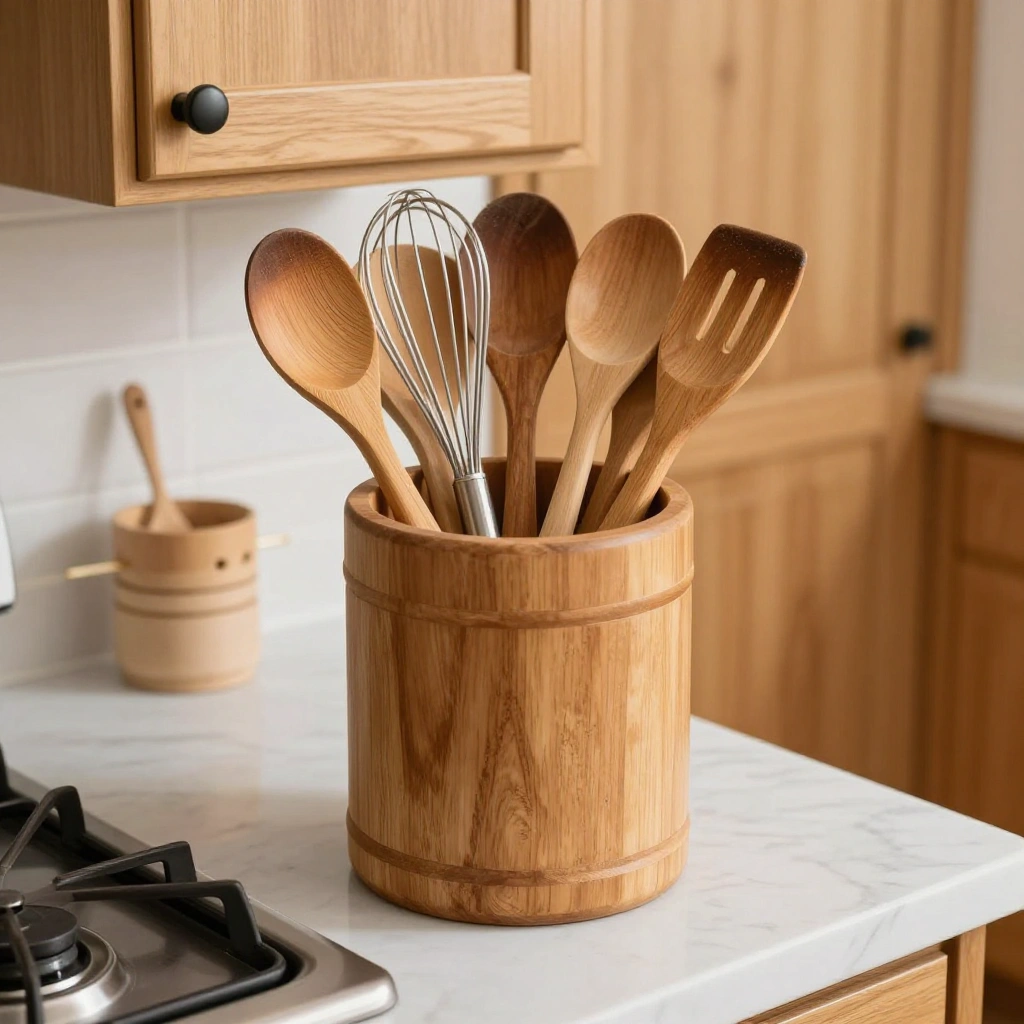
A simple utensil crock keeps spatulas, whisks, and wooden spoons upright and within arm’s reach of the stove, freeing up drawer space and speeding up cooking.
How to Style It:
- Choose a crock in a material that matches your cabinet hardware (wood, ceramic, or matte black)
- Stand utensils with handles up and heads down for easy grabbing
- Limit to 8–12 everyday tools — store the rest in a drawer
- Add one tall wooden spoon or whisk as a visual anchor
Where to Use It: Right beside the stovetop for quick access while cooking.
Pro Tip: Wash the crock out weekly — crumbs and moisture can collect at the bottom over time.
4. Under-Cabinet Mounted Storage
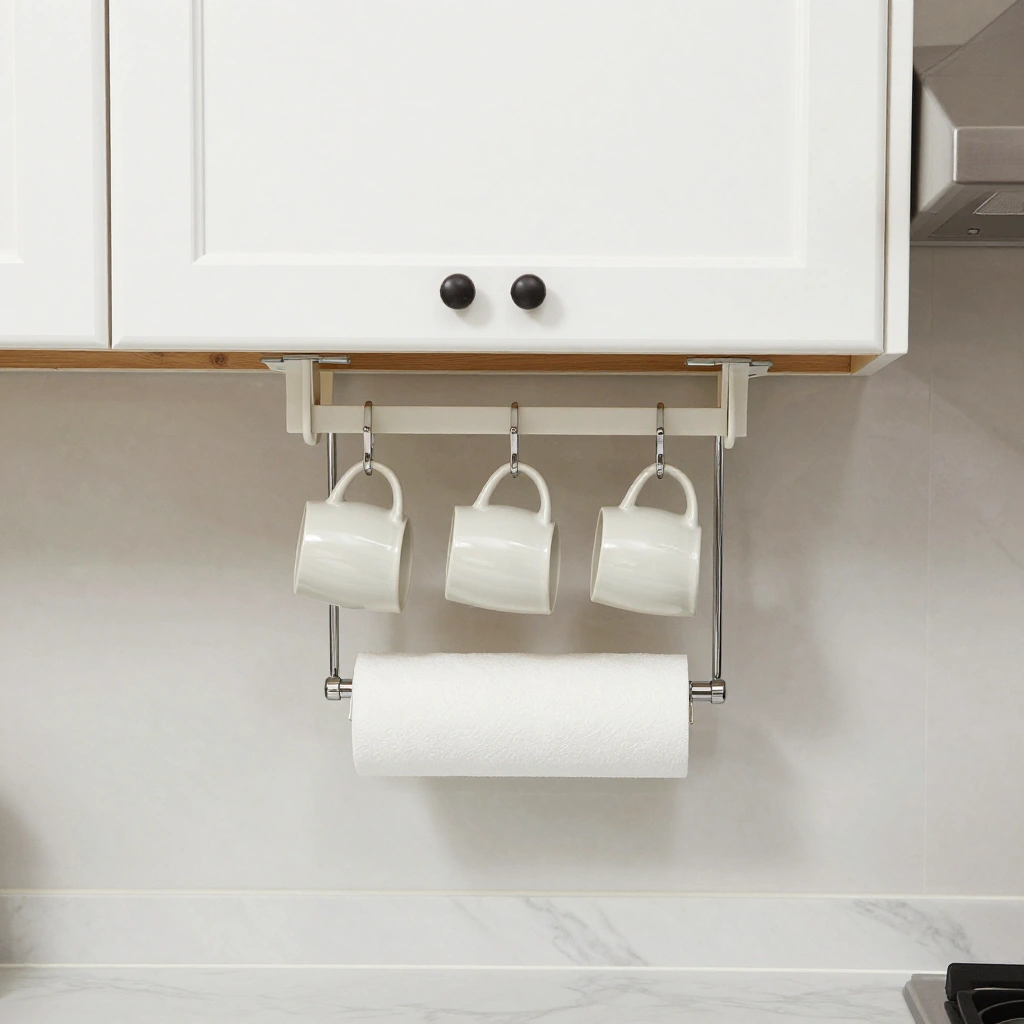
Mounting small racks or hooks underneath upper cabinets frees up valuable counter space by lifting everyday items — mugs, paper towels, or cutting boards — off the surface entirely.
How to Style It:
- Use a slim under-cabinet mug rack for morning coffee cups
- Add a pull-down paper towel holder to keep it off the counter
- Mount a small under-cabinet light for extra brightness over the workspace
- Keep hardware finish consistent with cabinet handles for a built-in look
Where to Use It: Above the coffee station or main prep area.
Pro Tip: Measure clearance before drilling — mugs and boards need enough room to hang without hitting the counter.
5. Tiered Fruit Basket Stand
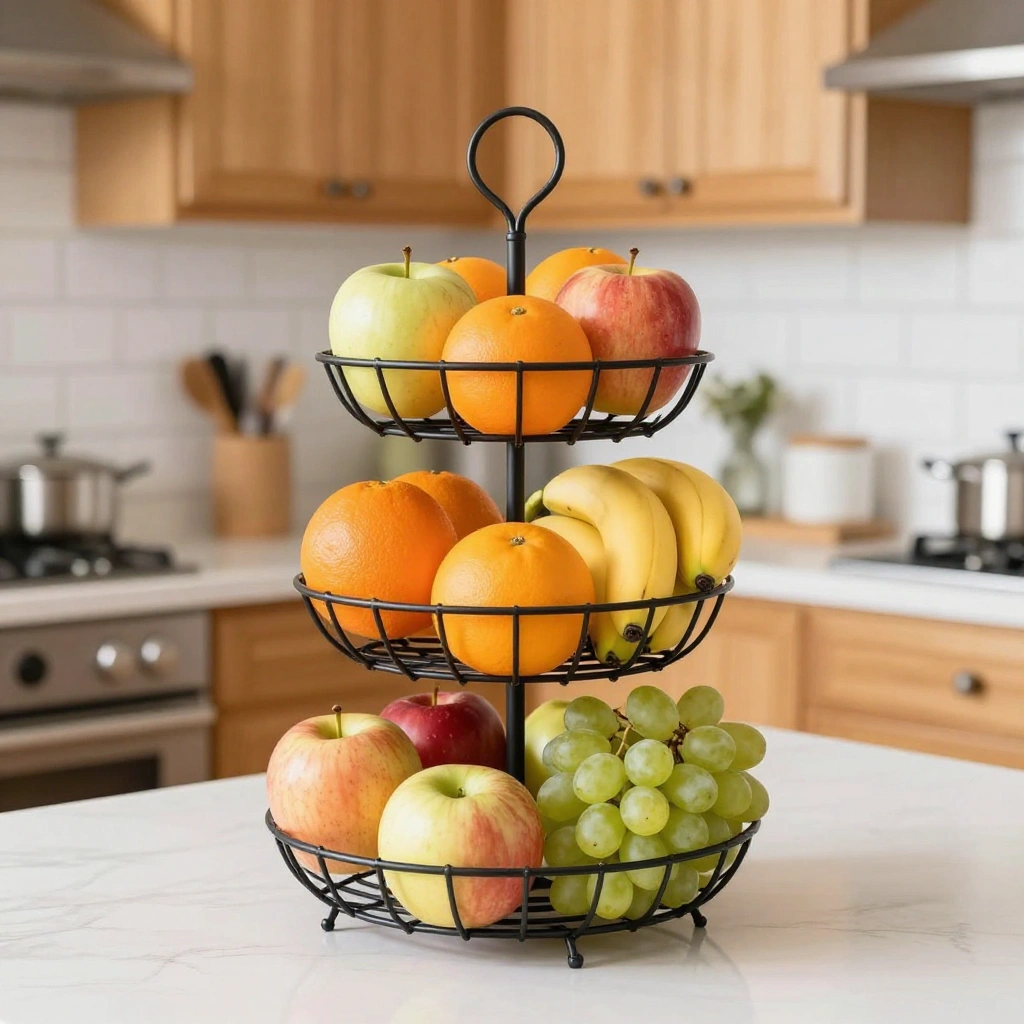
A tiered stand keeps fresh fruit visible and easy to grab, encouraging healthier snacking while adding a natural pop of color to the counter.
How to Style It:
- Choose a two- or three-tier wire or wood stand
- Place larger fruits (apples, oranges) on the bottom tier and smaller ones (berries, grapes) on top
- Rotate fruit weekly so nothing is forgotten at the back
- Add a small bowl of nuts or dried fruit on the top tier for variety
Where to Use It: A corner of the counter near the entrance to the kitchen, so kids can grab a snack on their way through.
Pro Tip: Keep bananas separate from other fruit — they release gas that speeds up ripening.
6. Countertop Appliance Garage
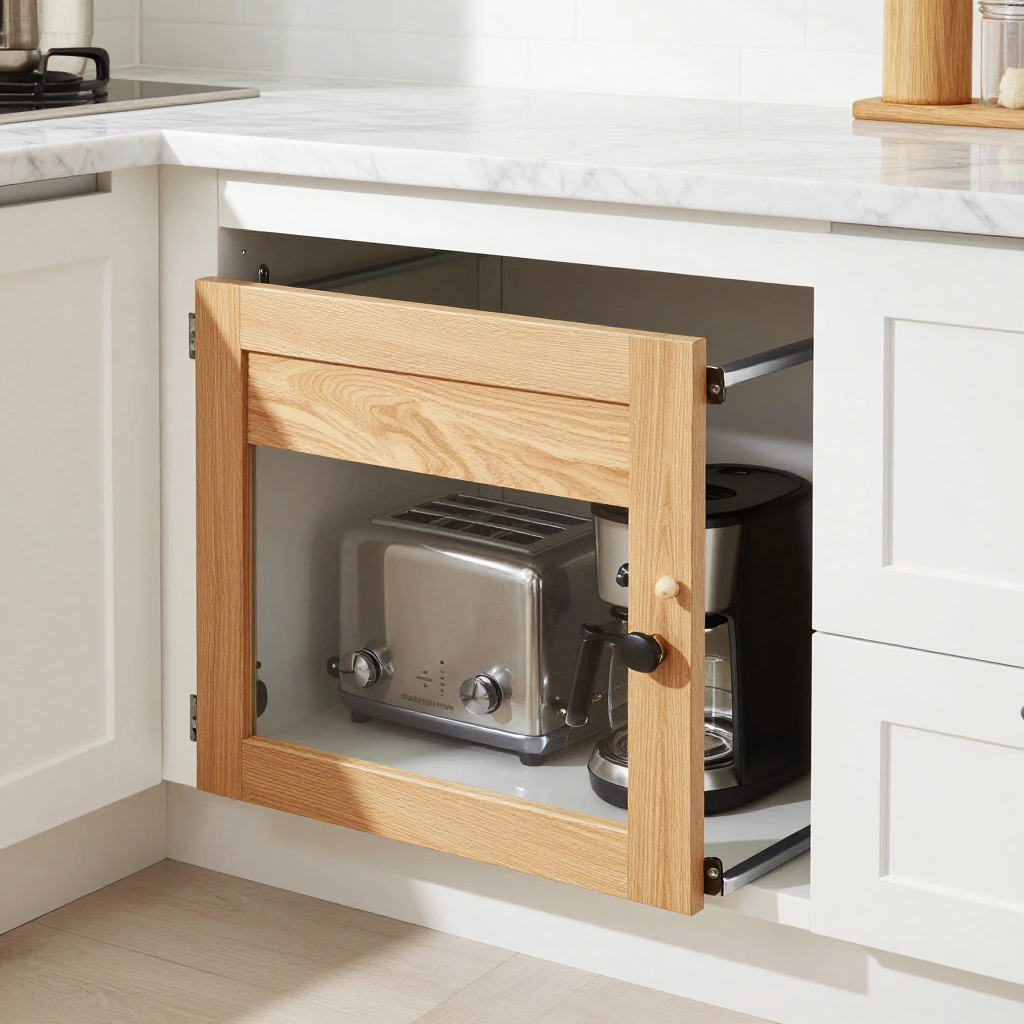
An appliance garage — a small cabinet-like enclosure with a roll-up or tambour door — hides toasters, blenders, and mixers when not in use, instantly clearing visual clutter.
How to Style It:
- Match the garage door finish to your cabinetry for a seamless built-in look
- Add a small power strip inside so appliances can be used without unplugging
- Keep only daily-use appliances inside; store rare-use items in a pantry
- Add a slim shelf above for cookbooks or a small potted herb
Where to Use It: In a corner near an outlet, ideally close to the coffee or breakfast zone.
Pro Tip: Choose a tambour (roll-up) door over a swing door if counter space near the garage is tight.
7. Vertical Cutting Board & Tray Rack
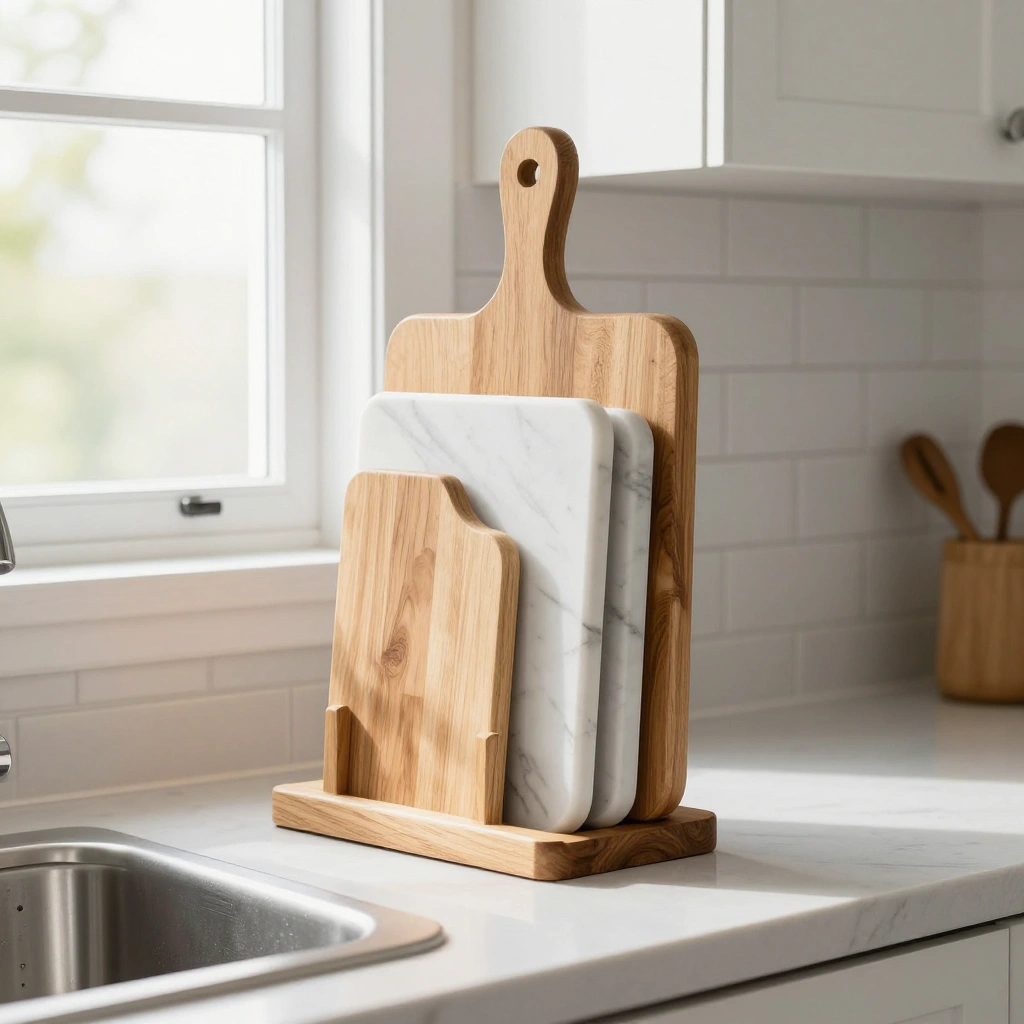
A vertical rack stores cutting boards, baking sheets, and trays on their edge, saving counter space while keeping them dry and easy to grab.
How to Style It:
- Choose a rack with adjustable slots to fit boards of different sizes
- Alternate wood and marble boards for visual texture
- Keep the rack near the edge of the counter so it doesn’t block workspace
- Add a small drip tray underneath if boards are stored while still damp
Where to Use It: Beside the sink or on a counter corner near the stove.
Pro Tip: Let boards air-dry completely before placing them in the rack to prevent mildew between slots.
8. Coffee & Tea Station Tray
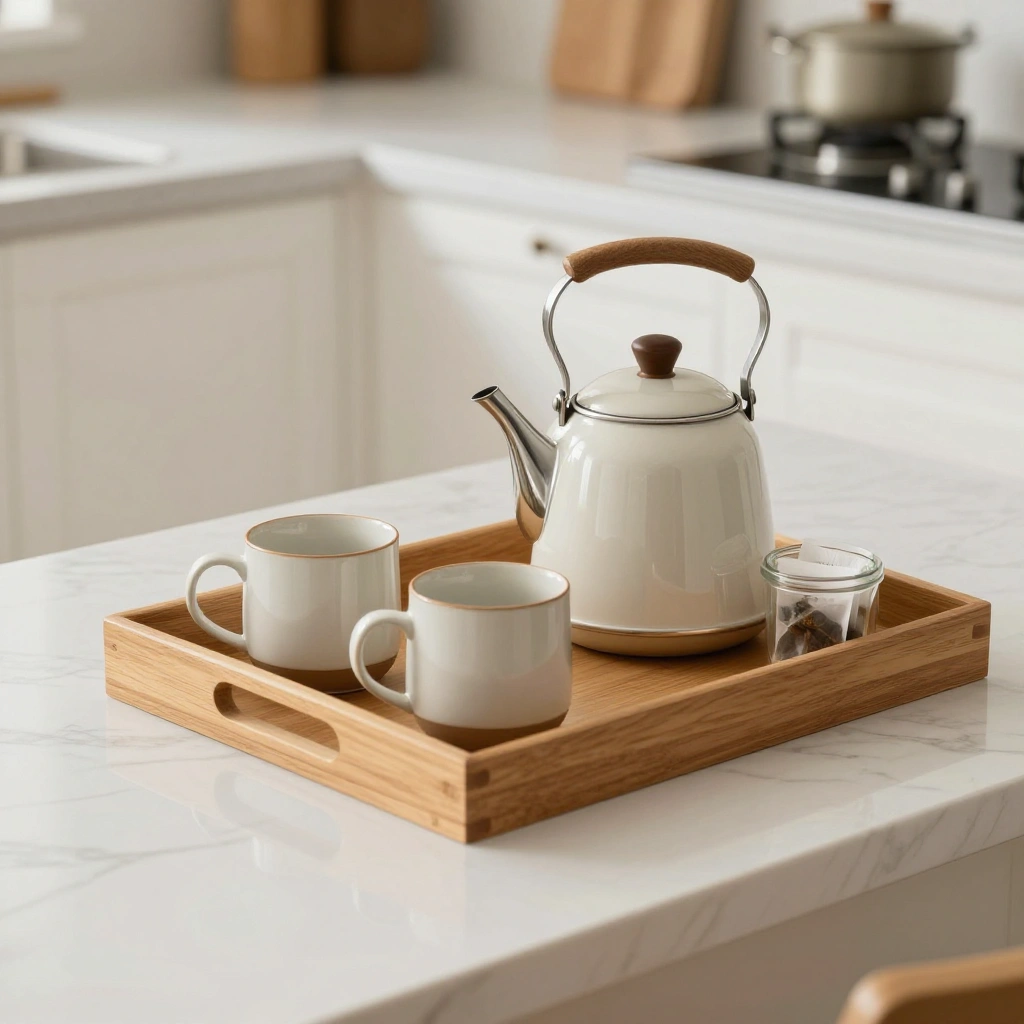
Corralling coffee, tea, mugs, and a kettle onto one tray keeps the whole station tidy and makes cleaning the counter quick — just lift the tray to wipe underneath.
How to Style It:
- Use a wood or marble tray large enough to hold a kettle, mugs, and a small canister
- Keep sugar, tea bags, and coffee pods in small matching containers on the tray
- Add a tiny plant or seasonal accent for warmth
- Wipe the tray daily to prevent spill rings from forming
Where to Use It: Near an outlet, in a corner or against the backsplash.
Pro Tip: Choose a tray with raised edges to catch drips from the kettle or coffee pot.
9. Kids’ Snack Station Corner
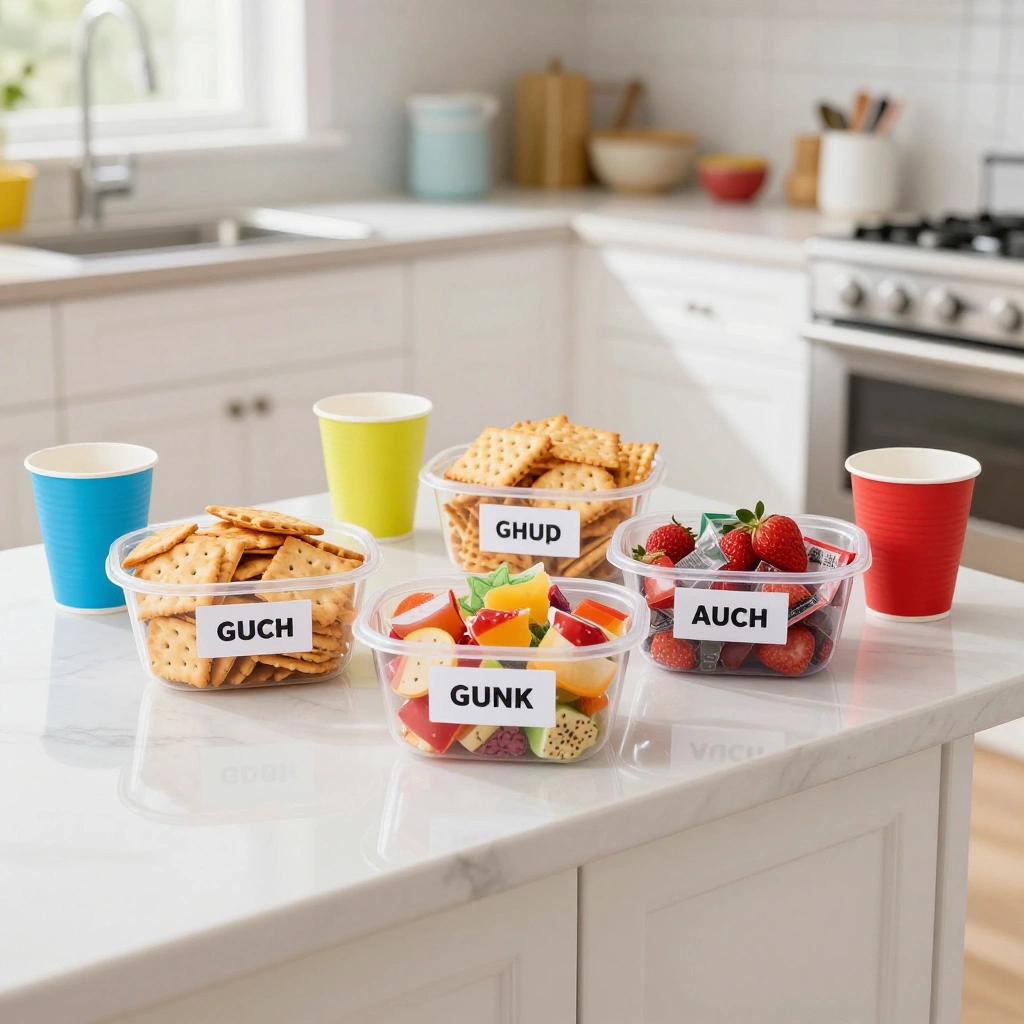
A dedicated low-traffic corner stocked with kid-friendly snacks and cups teaches independence and keeps little hands out of the main cooking zone.
How to Style It:
- Use small labeled bins or baskets for crackers, fruit cups, and juice boxes
- Add a mini step stool nearby if the counter is too high for younger kids
- Choose bright, durable containers that are easy for small hands to open
- Keep the zone stocked with 3–4 healthy snack options at a time
Where to Use It: A counter section closest to the kitchen entrance, away from the stove and sharp tools.
Pro Tip: Rotate snacks weekly and involve kids in restocking — it builds good habits and keeps the station from feeling repetitive.
10. Built-In Knife Block with Base Storage
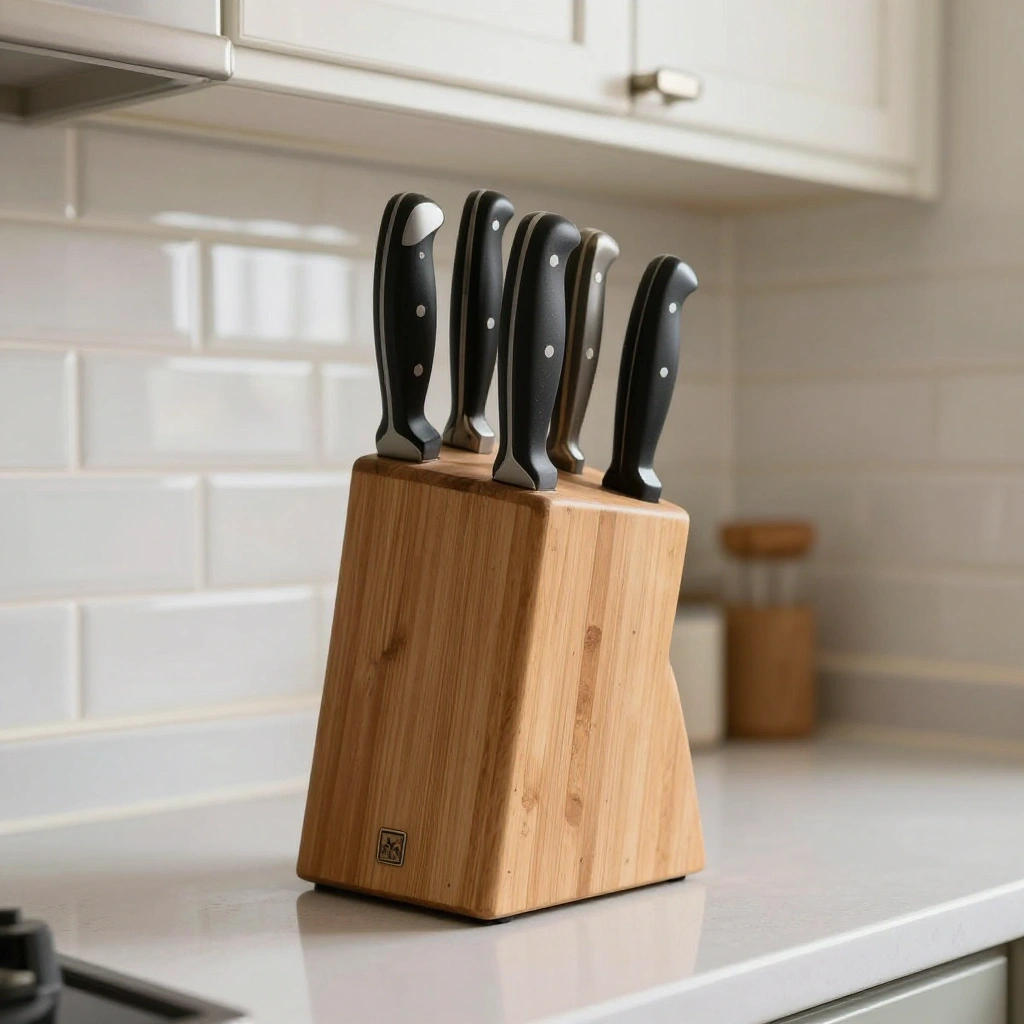
A knife block with a slim storage base keeps blades safely tucked away while doubling up storage for kitchen shears or a sharpening tool underneath.
How to Style It:
- Choose a block in a wood tone that matches your utensil crock or cutting boards for cohesion
- Position it against the backsplash, out of reach of small children
- Keep the block filled only with knives you use daily
- Wipe the base weekly to prevent crumb buildup
Where to Use It: Directly on the prep counter, pushed toward the back for safety.
Pro Tip: If young children are often in the kitchen, consider a knife block with a locking cover or store it on a higher shelf instead of the counter.
Common Mistakes to Avoid
- Overcrowding the counter — adding too many organizers defeats the purpose; leave breathing room for actual prep space.
- Mixing too many materials — combining wood, acrylic, metal, and ceramic all at once can make the counter feel busy rather than organized.
- Ignoring daily workflow — placing items where they look nice rather than where they’re actually used leads to clutter creeping back within days.
- Skipping child-safety placement — knives, hot appliances, or heavy jars should never sit within easy reach of small children.
- Forgetting to clean underneath organizers — trays, racks, and crocks trap crumbs and moisture if not lifted and wiped regularly.
Frequently Asked Questions About Kitchen Countertop Organization
How much of my countertop should stay empty? As a general rule, aim to keep at least 30–40% of your counter clear for actual food prep, even after adding organizers.
What’s the best material for kitchen countertop organizers? Wood and acrylic are the most popular choices because they’re durable, easy to clean, and match most kitchen styles. Ceramic works well for smaller decorative pieces.
How do I make a kids’ snack station safe? Keep it low, away from the stove and sharp tools, and stock it only with items kids can open and eat without adult help.
How often should I re-evaluate my countertop setup? Every few months, or any time your family’s routine changes — growing kids, new appliances, or a shift in cooking habits can all call for a quick reset.
Conclusion
A well-organized countertop isn’t about having the fanciest storage pieces — it’s about matching function to your family’s daily rhythm. Start with one or two ideas from this list, see how they fit your routine, and build from there. Small, intentional changes like a lazy Susan or a dedicated snack corner can make your kitchen feel calmer and more welcoming for everyone, every single day.