10 Beautiful Organize Kitchen Cabinets Ideas for Smarter Storage
Tired of cabinets that spill open the moment you reach for a pot? A well-organized kitchen doesn’t just look good — it saves you time every single day, from breakfast rush to dinner cleanup. In this guide, you’ll find 10 practical, family-friendly ways to bring order to every cabinet in your kitchen.
Whether you’re working with a tiny apartment kitchen or a spacious family layout, these ideas are simple to copy, budget-friendly, and easy to maintain even with kids underfoot. Let’s turn your cabinets from cluttered chaos into a system that works for everyone in the house. let jump to Organize Kitchen Cabinets ideas
10 Stylish Organize Kitchen Cabinets Ideas to Maximize Storage
1. Pull-Out Drawer Organizers for Pots and Pans
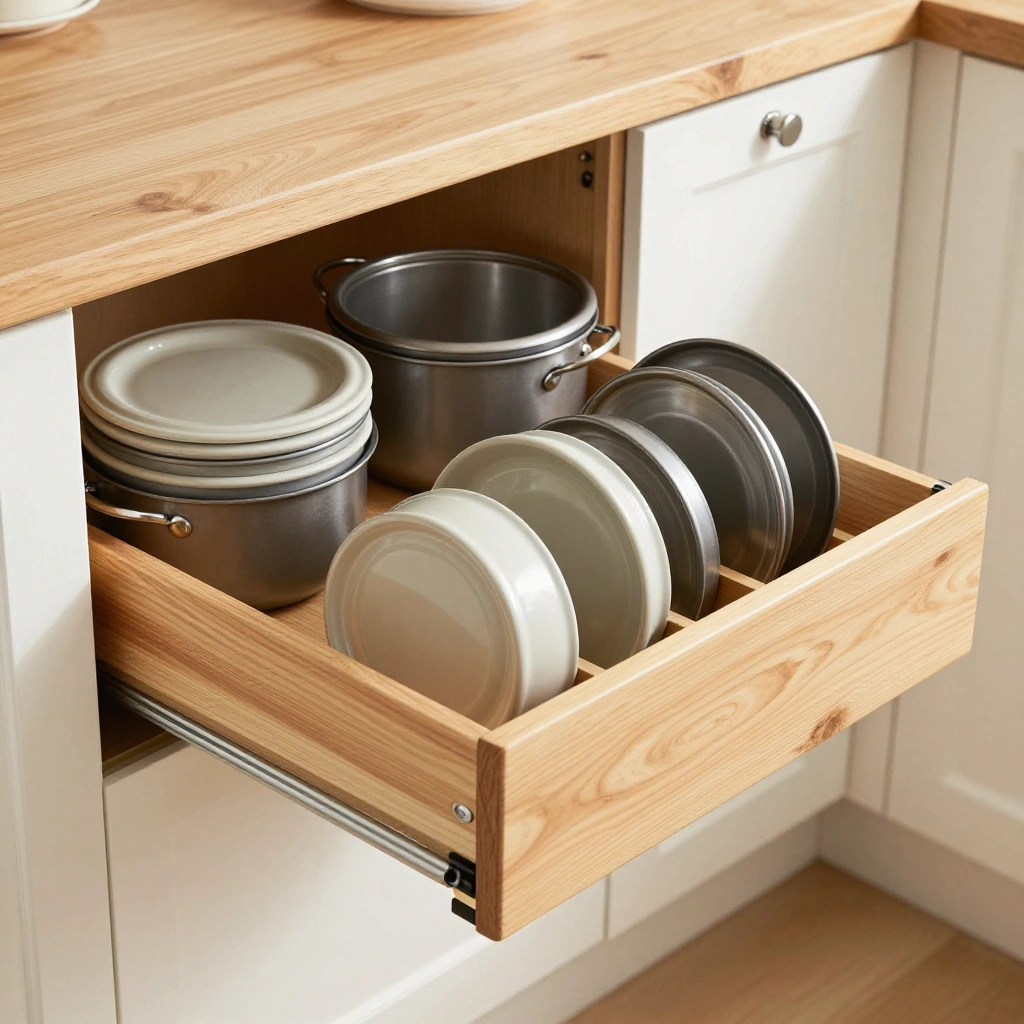
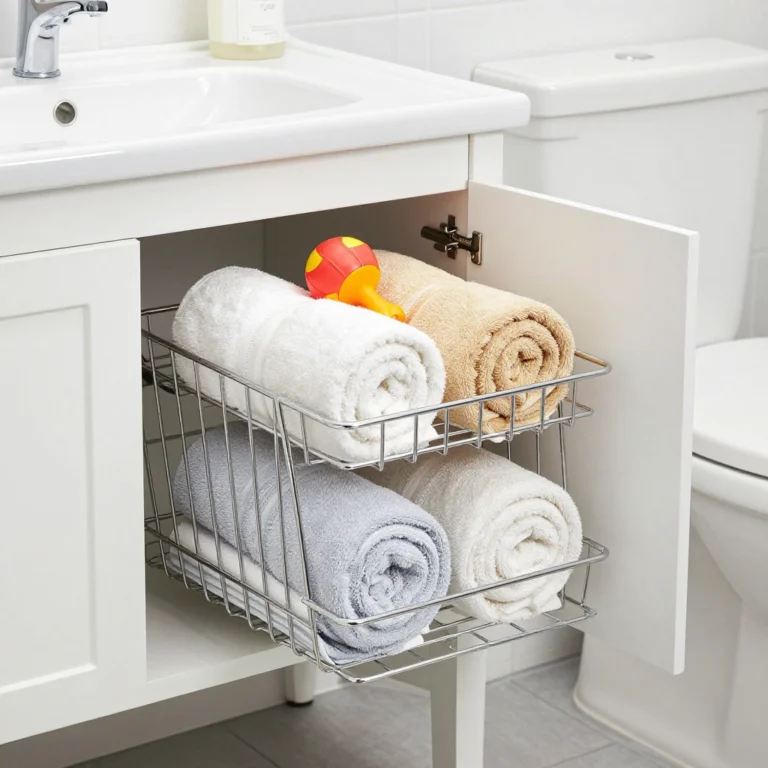
Deep base cabinets are notorious for becoming a black hole of stacked pots and lost lids. Installing pull-out drawer organizers turns that wasted space into an easy-access system where everything slides out into full view.
How to Style It:
- Choose wood or wire pull-out drawers sized to your cabinet depth
- Add soft-close slides to prevent slamming noises
- Use vertical dividers to keep lids upright and separated
- Label each drawer front with a small chalkboard tag for younger helpers
Where to Use It: Best suited for base cabinets near the stove where pots, pans, and baking sheets are stored and used daily.
Pro Tip: Measure your tallest pot before ordering organizers — nothing is more frustrating than a drawer that won’t close because of one oversized lid.
2. Clear Stackable Bins for Pantry Cabinets
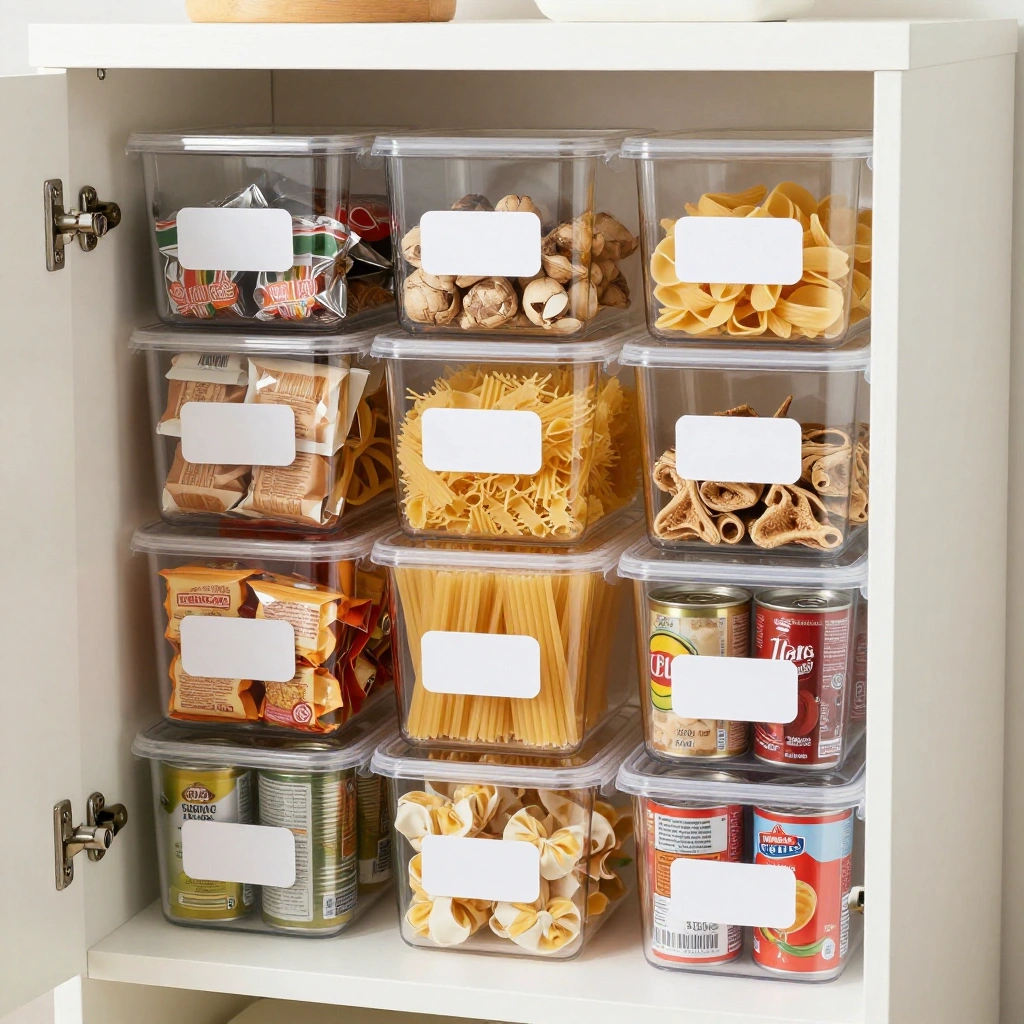
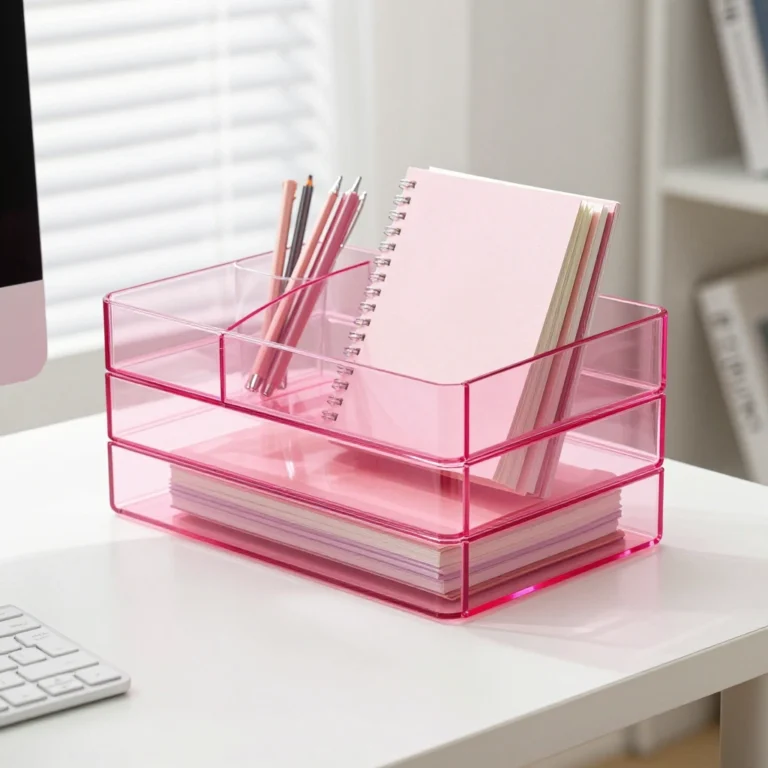
Clear bins bring instant order to pantry cabinets by grouping similar items together and making everything visible at a glance — no more digging through bags to find the pasta.
How to Style It:
- Use uniform clear acrylic or plastic bins in two or three sizes
- Group by category: snacks, baking, canned goods, kids’ lunch items
- Add printed labels for a clean, cohesive look
- Stack shorter bins on top for vertical space savings
Where to Use It: Ideal for pantry cabinets, upper cabinets near the stove, or any shelf storing dry goods and canned foods.
Pro Tip: Keep a designated “kids’ snack bin” at a lower, reachable shelf so children can grab approved snacks independently.
3. Tiered Shelf Risers for Plates and Bowls
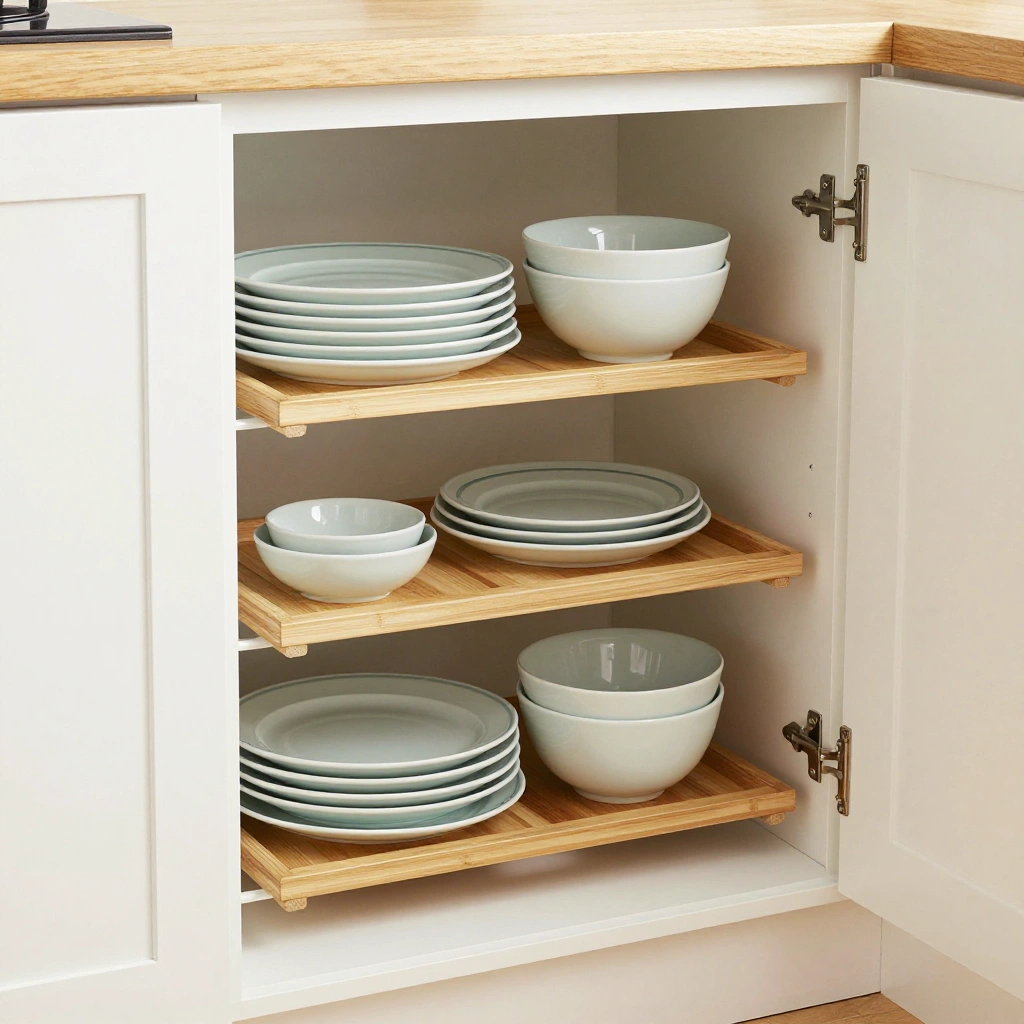
Tiered risers add a step-like structure inside cabinets, so every plate and bowl is visible and reachable without unstacking an entire tower of dishes.
How to Style It:
- Choose adjustable metal or bamboo shelf risers
- Sort dinner plates, salad plates, and bowls onto separate tiers
- Keep everyday dishware on the lowest, most accessible tier
- Store special-occasion dishware on the top tier
Where to Use It: Perfect for upper cabinets near the dishwasher, making unloading and putting away dishes quick and simple.
Pro Tip: Place children’s plates and cups on the bottom tier of a lower cabinet so kids can set the table themselves.
4. Lazy Susan Turntables for Corner Cabinets
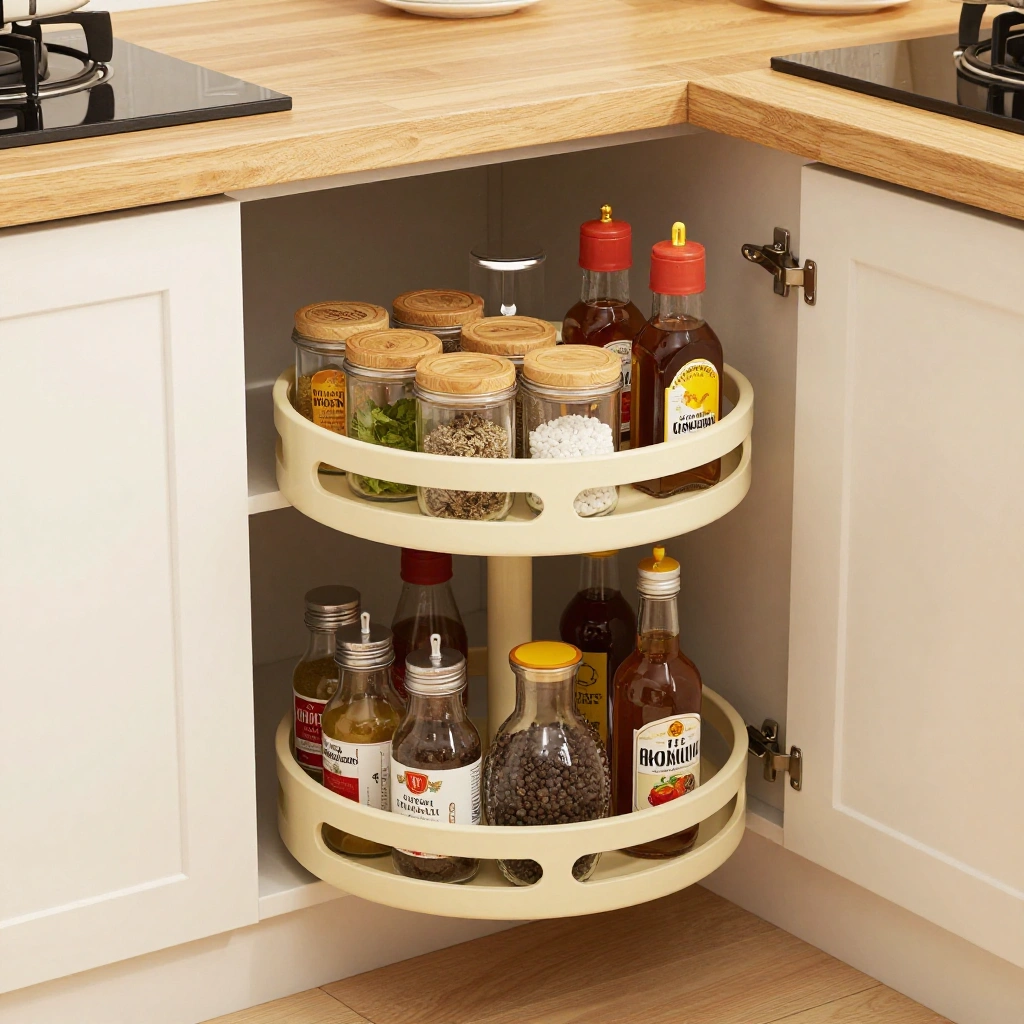
Corner cabinets are often the most awkward and underused space in the kitchen. A lazy Susan turntable solves that instantly, letting you spin items into reach instead of crawling on your knees.
How to Style It:
- Install a two-tier lazy Susan for maximum storage
- Group oils, spices, and condiments together on one turntable
- Use a separate turntable for snacks or baking supplies
- Choose a non-slip surface to keep jars from sliding
Where to Use It: Best for blind corner cabinets that are otherwise hard to access, commonly found in base cabinet corners.
Pro Tip: Keep the most-used items — like cooking oil and salt — toward the front edge of the turntable for quick grabs.
5. Door-Mounted Racks for Lids and Cutting Boards
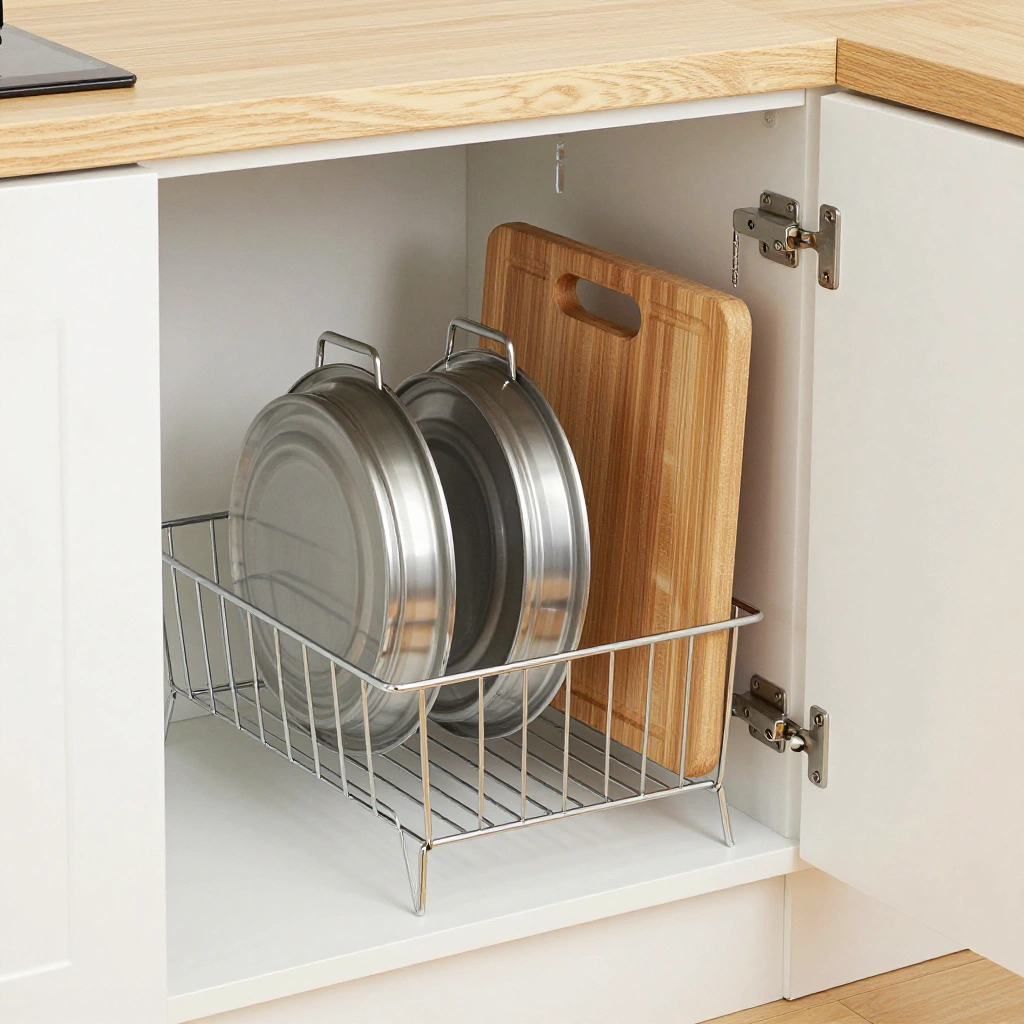
The inside of a cabinet door is often completely wasted space. Adding a mounted rack turns it into a slim storage zone for flat items that are otherwise awkward to stack.
How to Style It:
- Install an adjustable wire or metal rack on the cabinet door interior
- Store pot lids, cutting boards, and baking sheets vertically
- Choose a rack with adjustable prongs to fit different sizes
- Keep heavier items toward the bottom of the rack
Where to Use It: Great for base cabinet doors near the stove or prep area, keeping bulky flat items out of stacked piles.
Pro Tip: Measure the door’s depth and cabinet clearance first, so the rack doesn’t collide with shelves or drawers when the door closes.
6. Labeled Baskets for Kids’ Snacks and Dishes
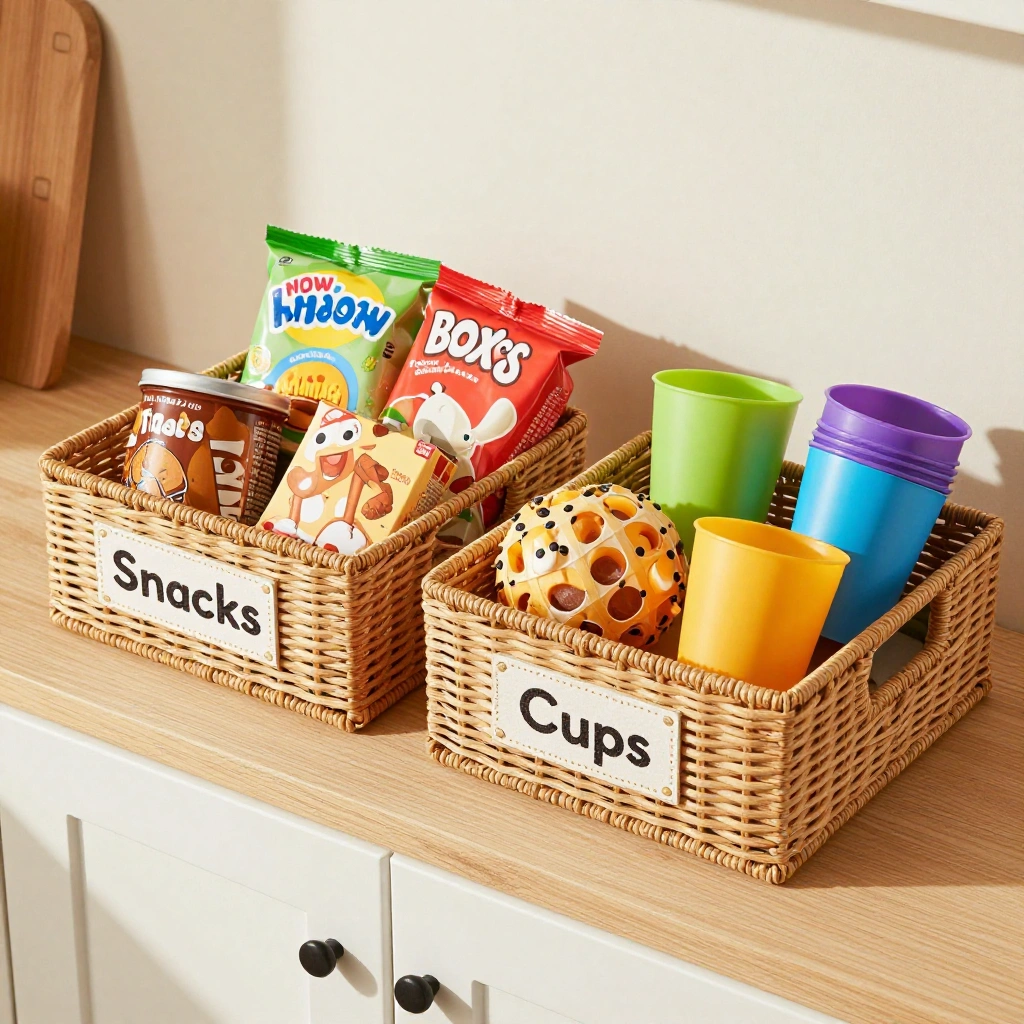
Giving kids their own labeled basket inside a low cabinet builds independence and keeps their snacks and dishware separate from the rest of the kitchen.
How to Style It:
- Choose woven or fabric baskets with sturdy handles
- Label each basket clearly: “Snacks,” “Cups,” “Bowls”
- Fill with kid-friendly portioned snacks and unbreakable dishware
- Place at a low, easy-to-reach cabinet height
Where to Use It: Best in a lower cabinet or drawer that kids can open on their own, near the kitchen entrance or breakfast area.
Pro Tip: Rotate snack options weekly so the basket stays fresh and kids stay excited about picking their own options.
7. Vertical Dividers for Baking Sheets and Trays
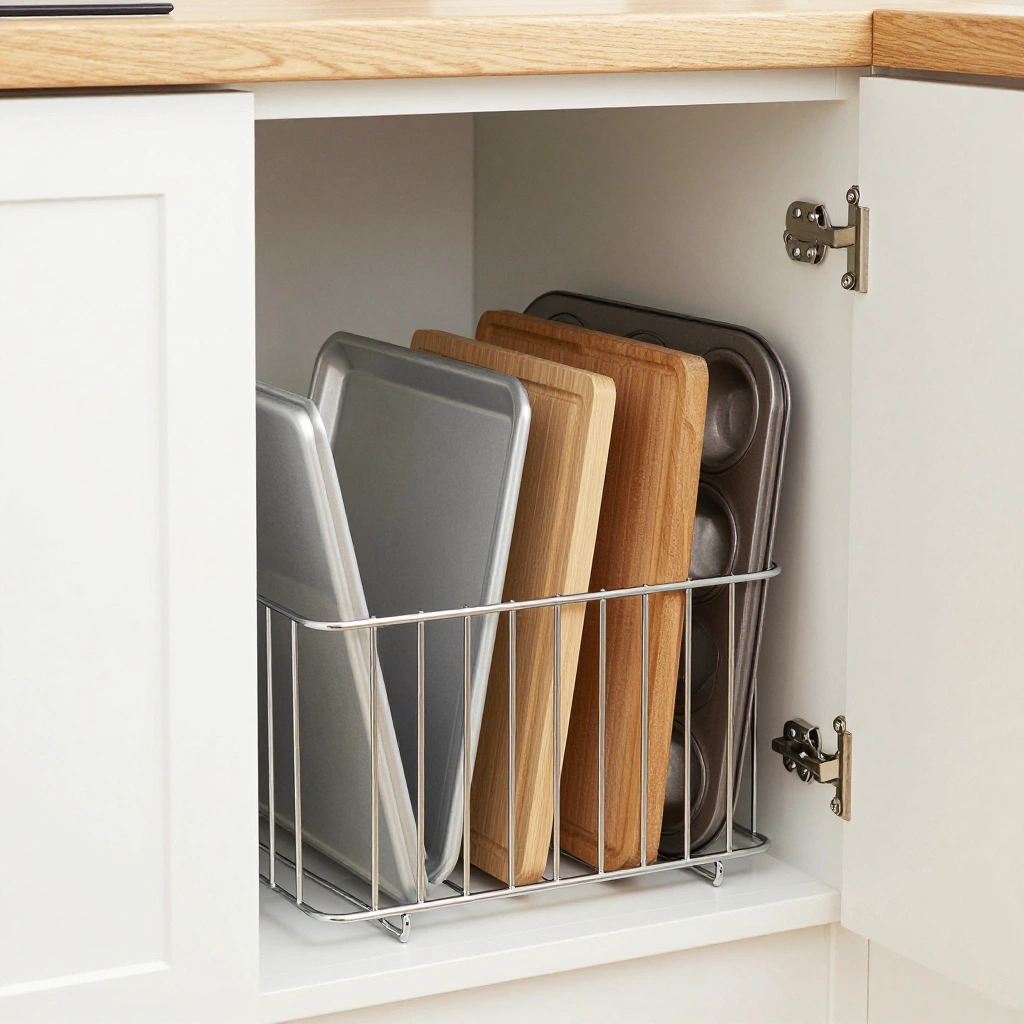
Flat bakeware tends to pile up and become nearly impossible to pull out without a domino effect. Vertical dividers keep every tray upright and individually accessible.
How to Style It:
- Install a metal or wood vertical divider insert
- Sort baking sheets, cutting boards, and muffin tins into separate slots
- Choose adjustable dividers to fit uneven pan sizes
- Position near the oven for easy access while cooking
Where to Use It: Ideal for a tall, narrow base cabinet slot next to the oven or stove.
Pro Tip: Leave one empty slot for a cooling rack — it’s often the item people forget to plan space for.
8. Pull-Out Trash and Recycling Bins
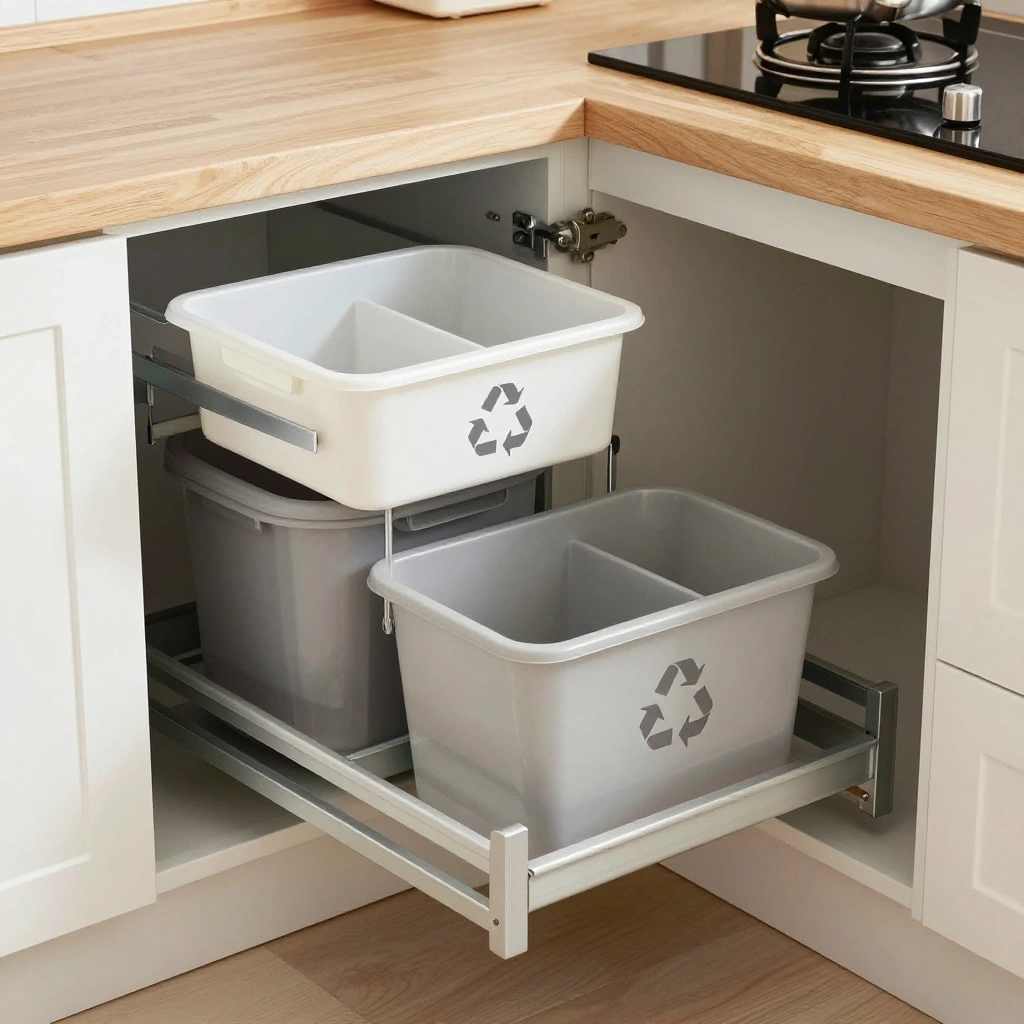
Hiding trash and recycling behind a cabinet door keeps the kitchen looking clean while making sorting effortless for the whole family.
How to Style It:
- Install a pull-out bin system with two or three separate compartments
- Label bins clearly for trash, recycling, and compost
- Choose a soft-close slide mechanism for quiet operation
- Line each bin with an easy-to-replace liner
Where to Use It: Works best in a base cabinet near the sink or prep area for quick, convenient disposal while cooking.
Pro Tip: Teach kids the color-coded bin system early — it turns cleanup into a simple sorting game rather than a chore.
9. Spice Drawer Inserts with Angled Labels
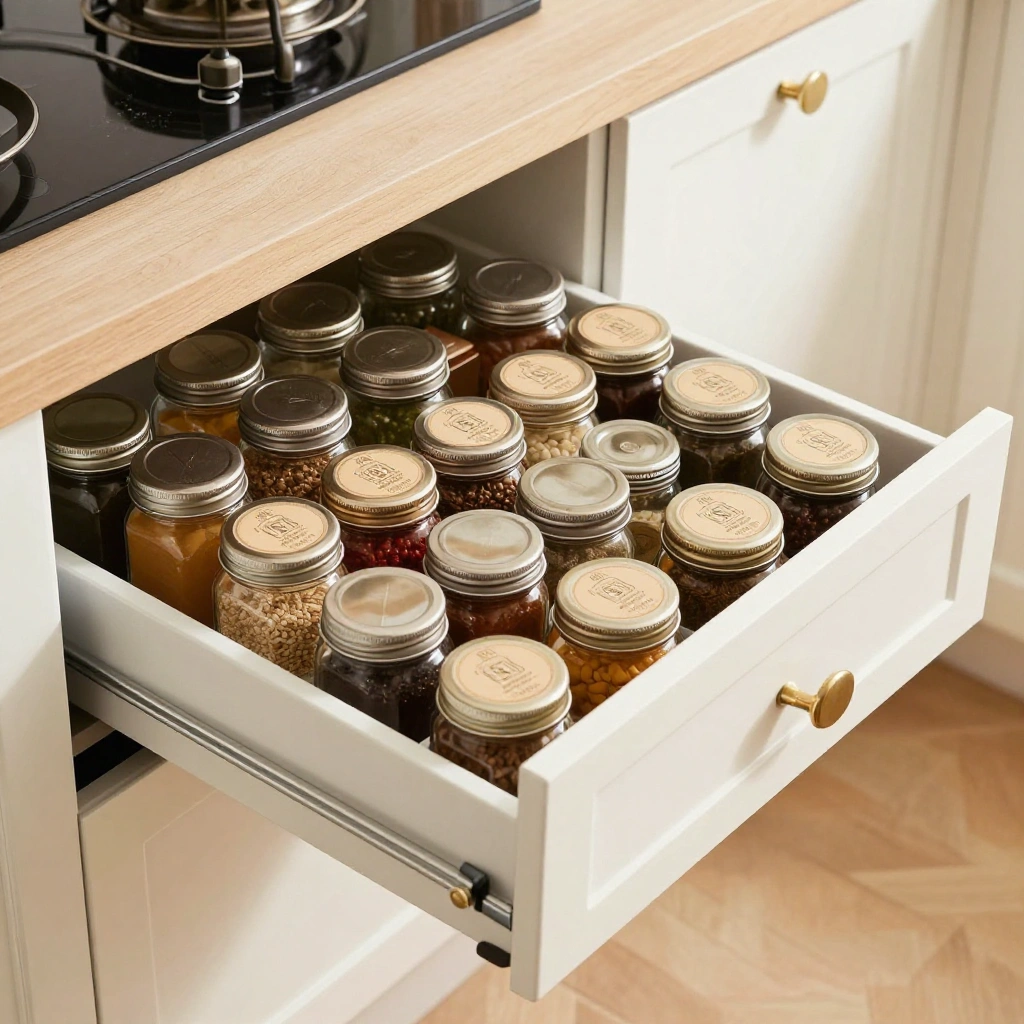
A dedicated spice drawer with angled inserts lets you read every label at a glance, cutting down on cooking-time frustration and duplicate spice purchases.
How to Style It:
- Use a slanted drawer insert designed for spice jars
- Decant spices into uniform matching jars
- Add printed labels on the lids for top-down visibility
- Arrange alphabetically or by cuisine type
Where to Use It: Best in a shallow drawer close to the stove for fast access while cooking.
Pro Tip: Keep a small notepad nearby to jot down spices that are running low, so restocking is quick and organized.
10. Open Shelving with Woven Baskets for Everyday Items
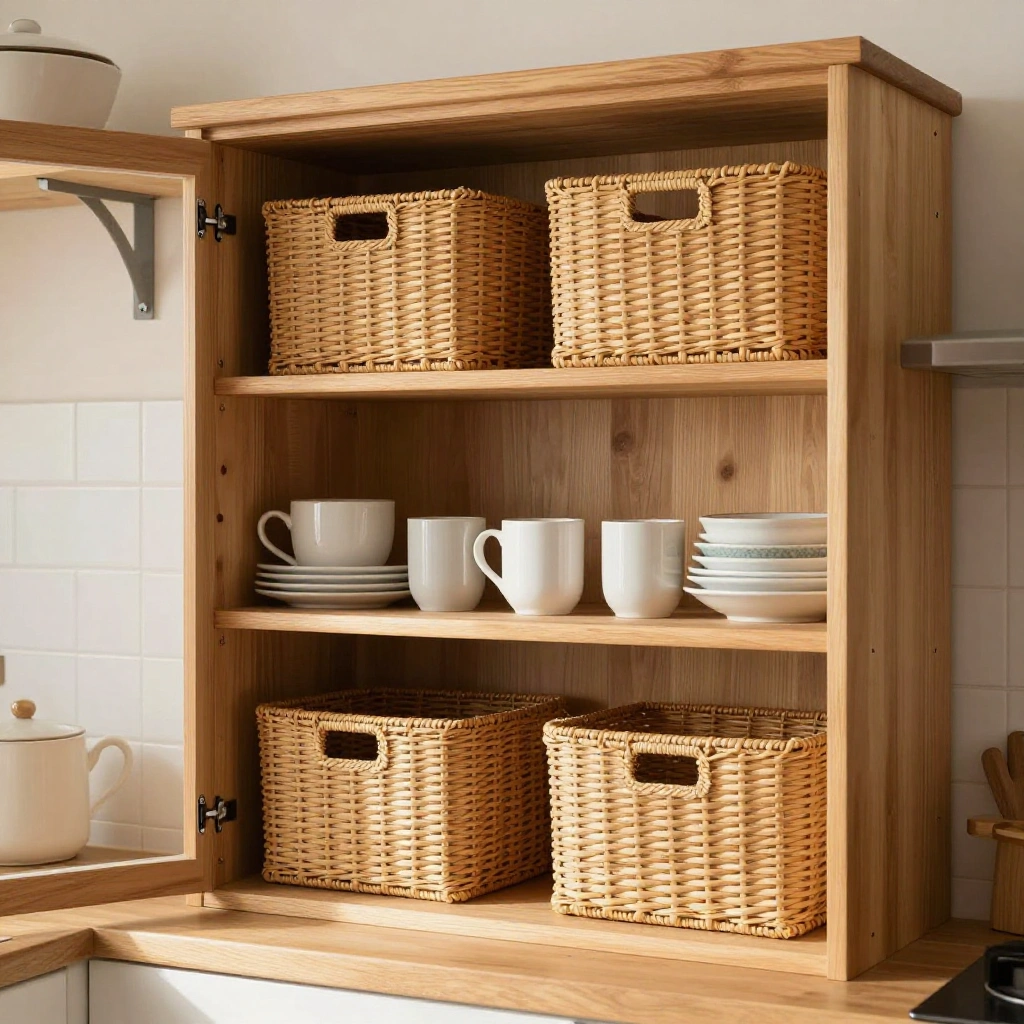
Not every cabinet needs a door. Open shelving paired with woven baskets keeps frequently used items within reach while adding warmth and texture to the kitchen.
How to Style It:
- Install one or two open wood shelves in place of an upper cabinet
- Use matching woven baskets to corral smaller loose items
- Display a few everyday dishes or mugs alongside the baskets
- Keep the arrangement simple to avoid a cluttered look
Where to Use It: Works well above a coffee station, near the sink, or in a breakfast nook where items are used throughout the day.
Pro Tip: Keep breakable items on higher shelves and soft, kid-safe baskets on lower ones if children help themselves in this area.
Common Mistakes to Avoid
- Organizing without decluttering first — sorting clutter into bins just hides the problem instead of solving it.
- Buying organizers before measuring — mismatched sizes lead to wasted drawers and awkward gaps.
- Ignoring daily habits — placing everyday items out of easy reach makes the system hard to maintain.
- Overcrowding bins and baskets — leave a little breathing room so items are easy to pull out and put back.
- Skipping labels — even simple labels help every family member, including kids, put things back correctly.
Frequently Asked Questions
How do I start organizing kitchen cabinets on a budget? Begin by decluttering and grouping similar items together before buying anything. Many budget bins, baskets, and dividers from local stores work just as well as expensive built-in systems.
What’s the best way to organize cabinets for kids? Dedicate a low cabinet or drawer to kid-friendly items like snacks, cups, and unbreakable dishes, and use clear labels so children can find and return items independently.
How often should I reorganize my kitchen cabinets? A quick check every few months works well, with a deeper declutter once or twice a year as your family’s needs and routines change.
Do I need to buy matching organizers for a cohesive look? Matching bins and labels create a cleaner look, but function matters more than uniformity — prioritize what fits your cabinets and daily routine first.
Conclusion
Organized kitchen cabinets aren’t about perfection — they’re about creating a system your whole family can actually keep up with. Start with one or two ideas from this list,
whether it’s a lazy Susan for that awkward corner cabinet or a labeled snack basket for the kids, and build from there. Small changes add up to a kitchen that feels calmer, more functional, and easier to enjoy every single day.